

Collection: Security


Security
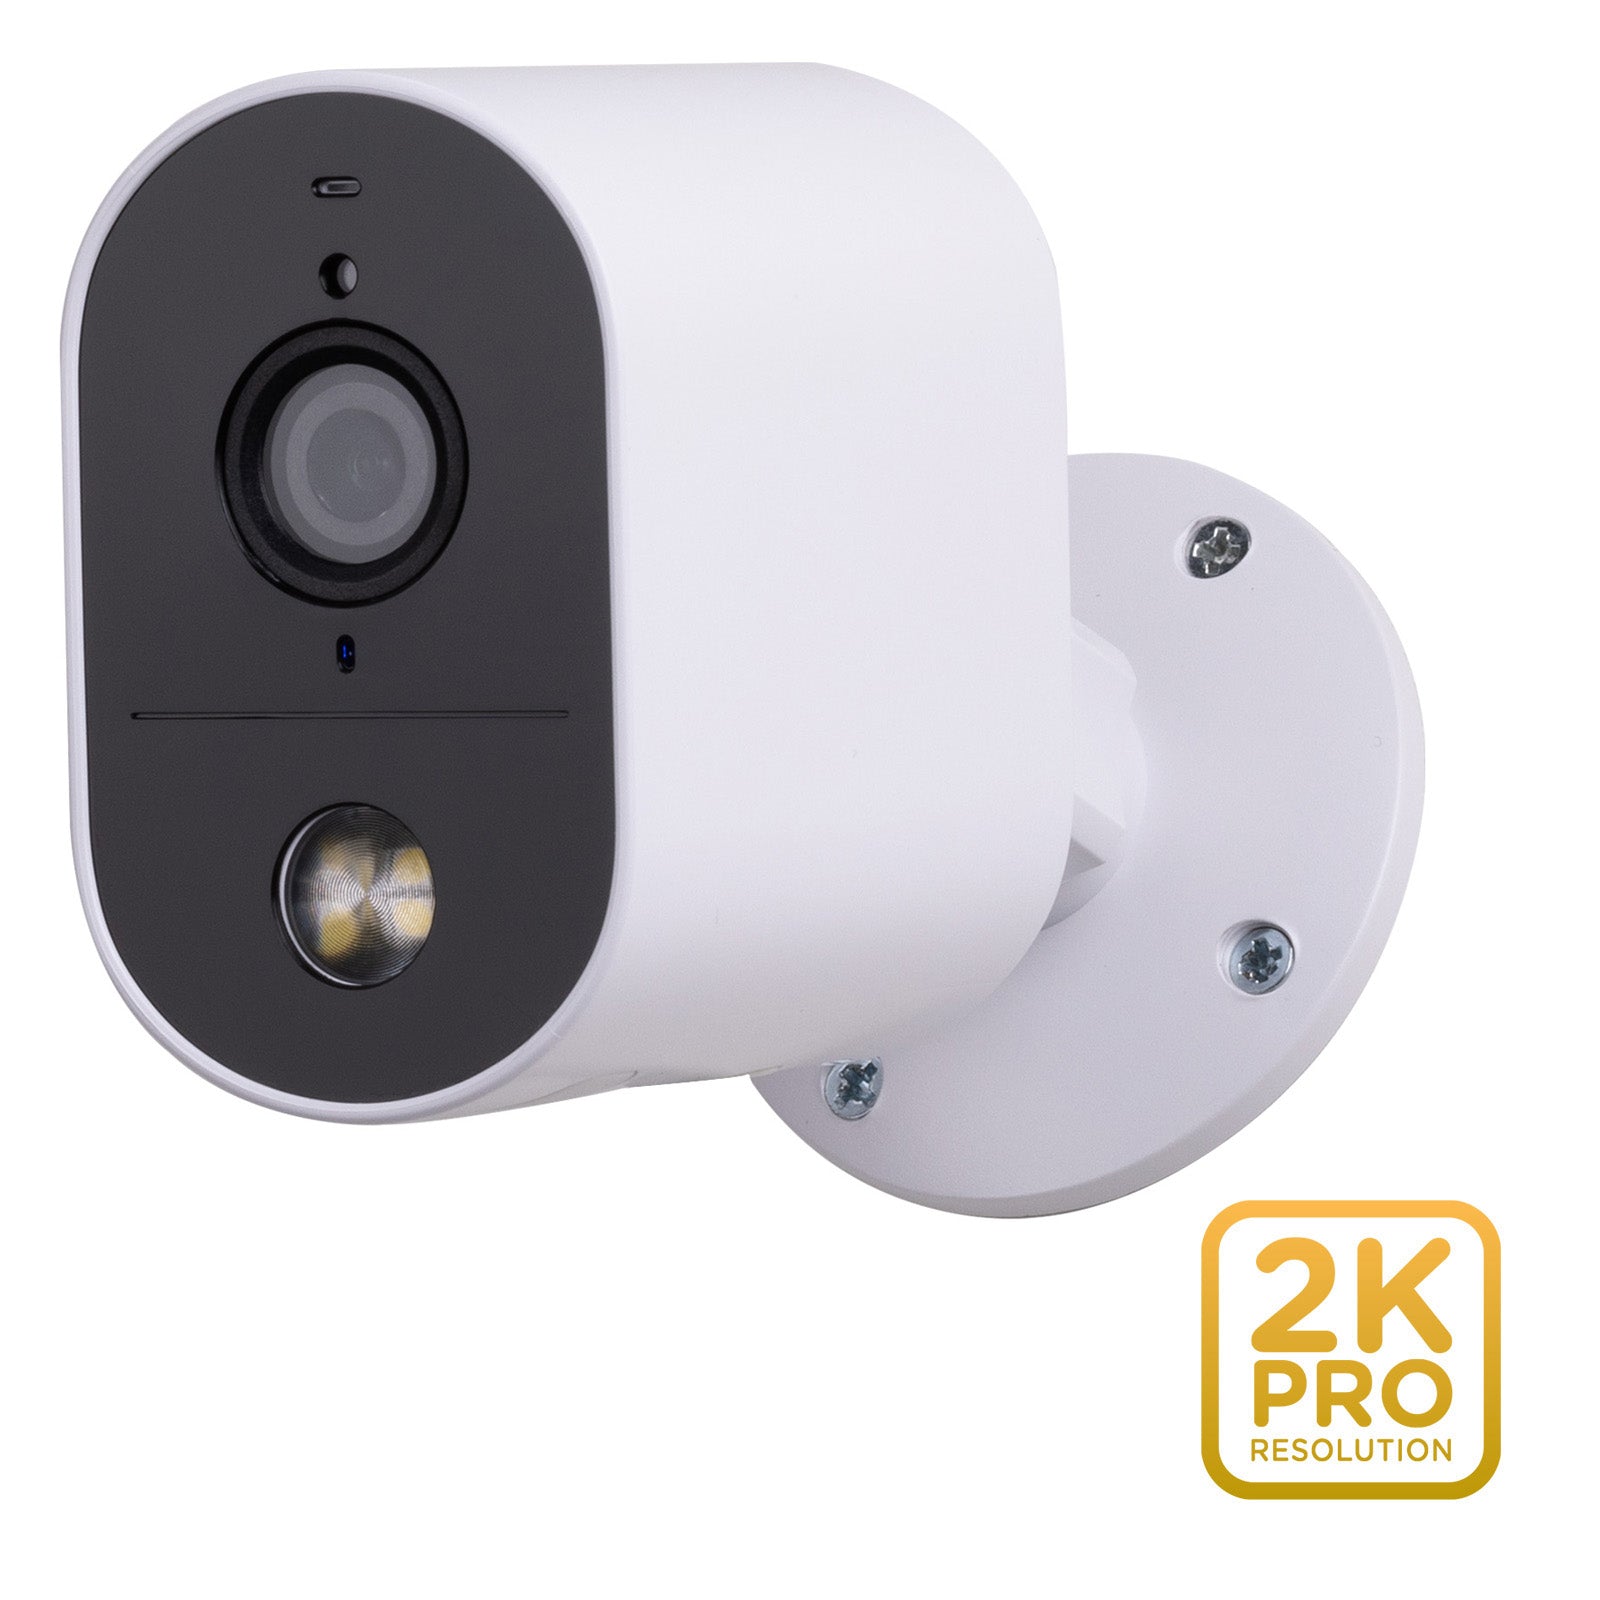
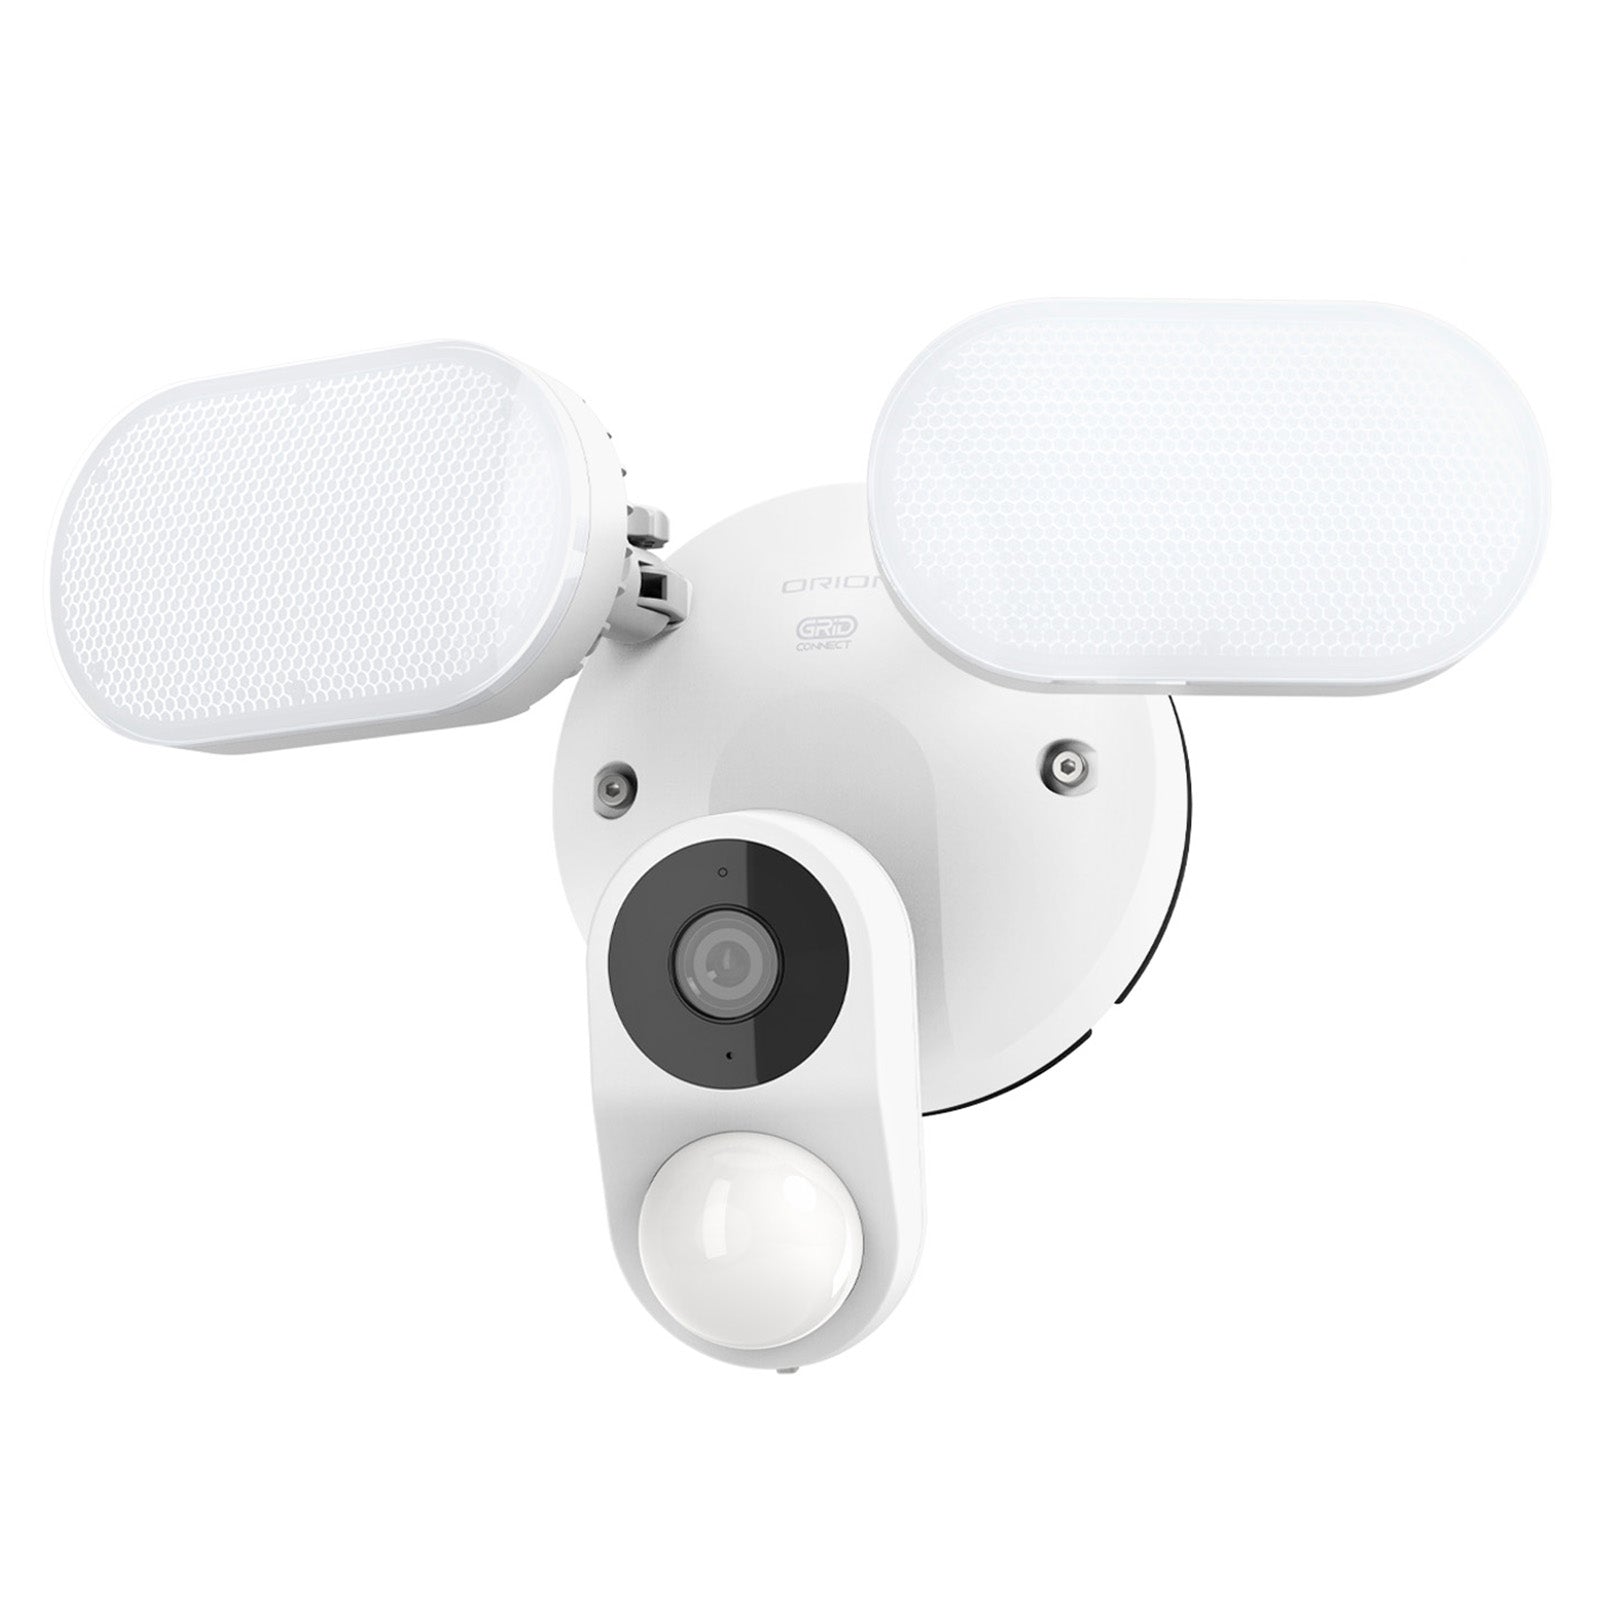
Yes, you can view your Grid Connect security camera from overseas using the Grid Connect App. The app enables live viewing, playback, motion alerts, and remote control—giving you real-time monitoring, convenience, and peace of mind no matter where you are in the world.
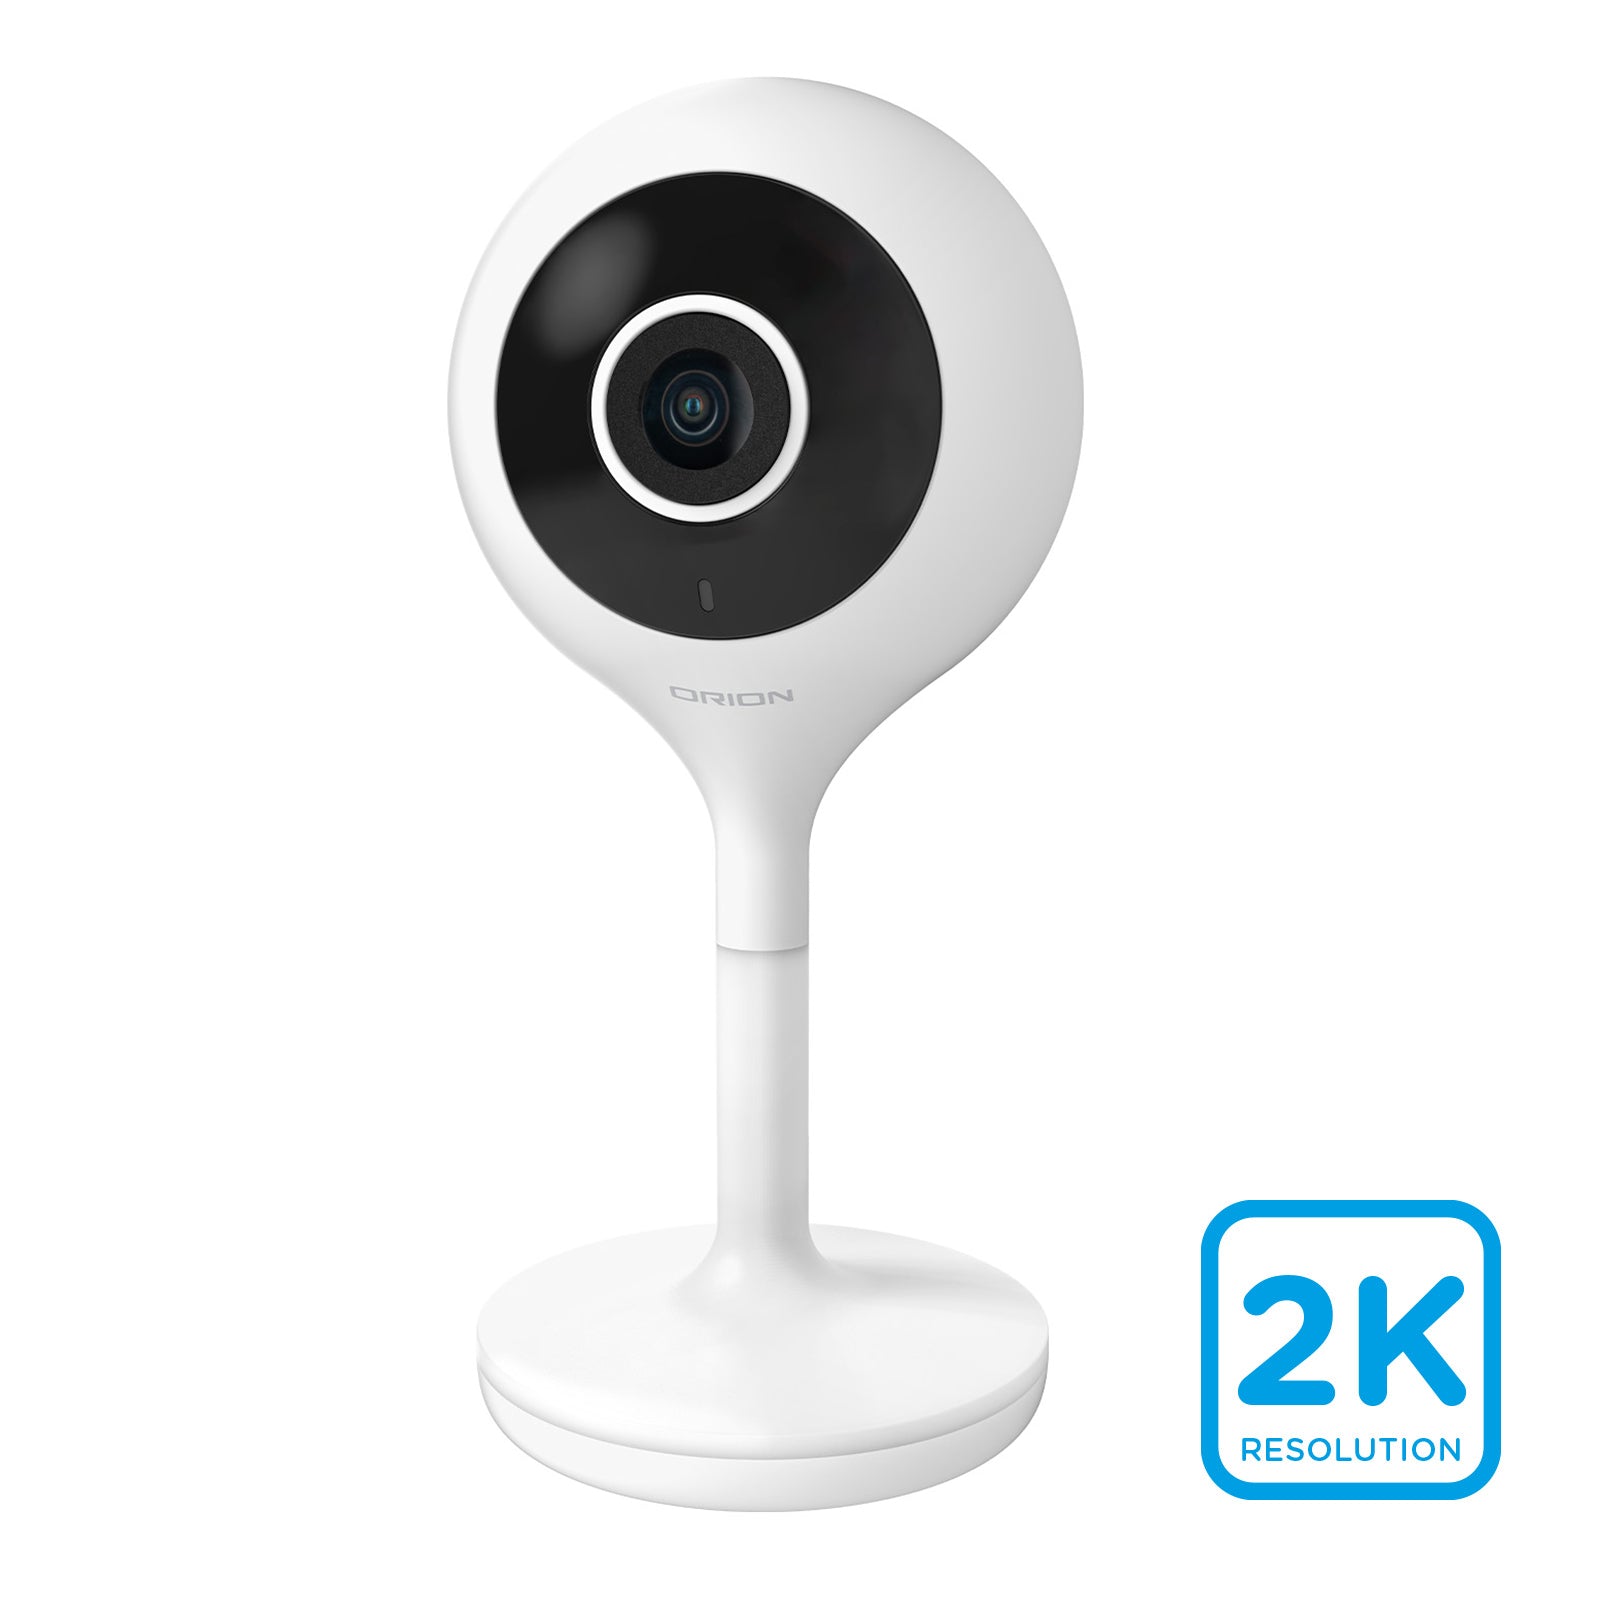
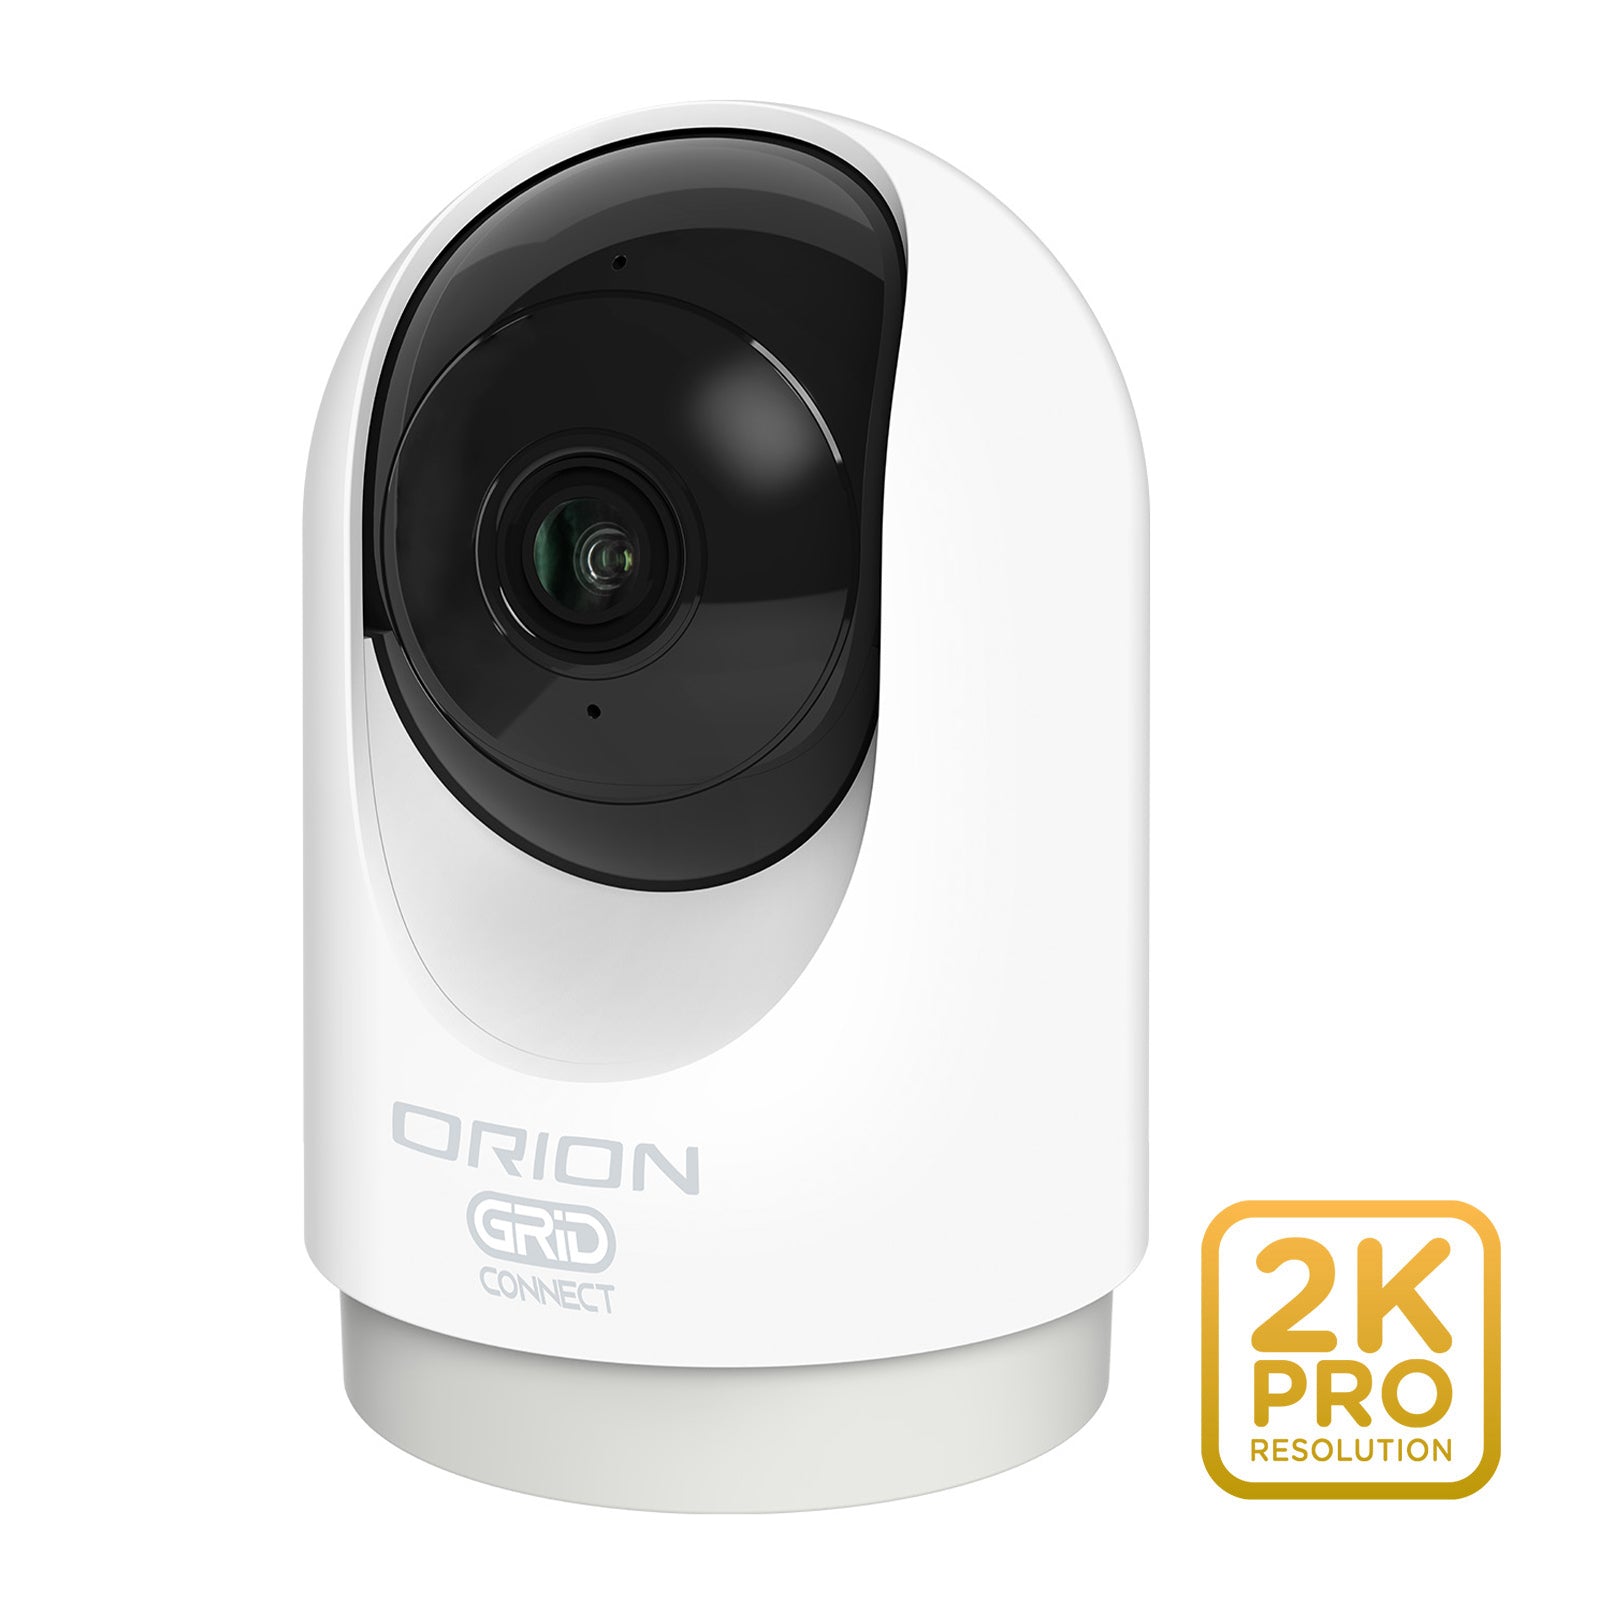
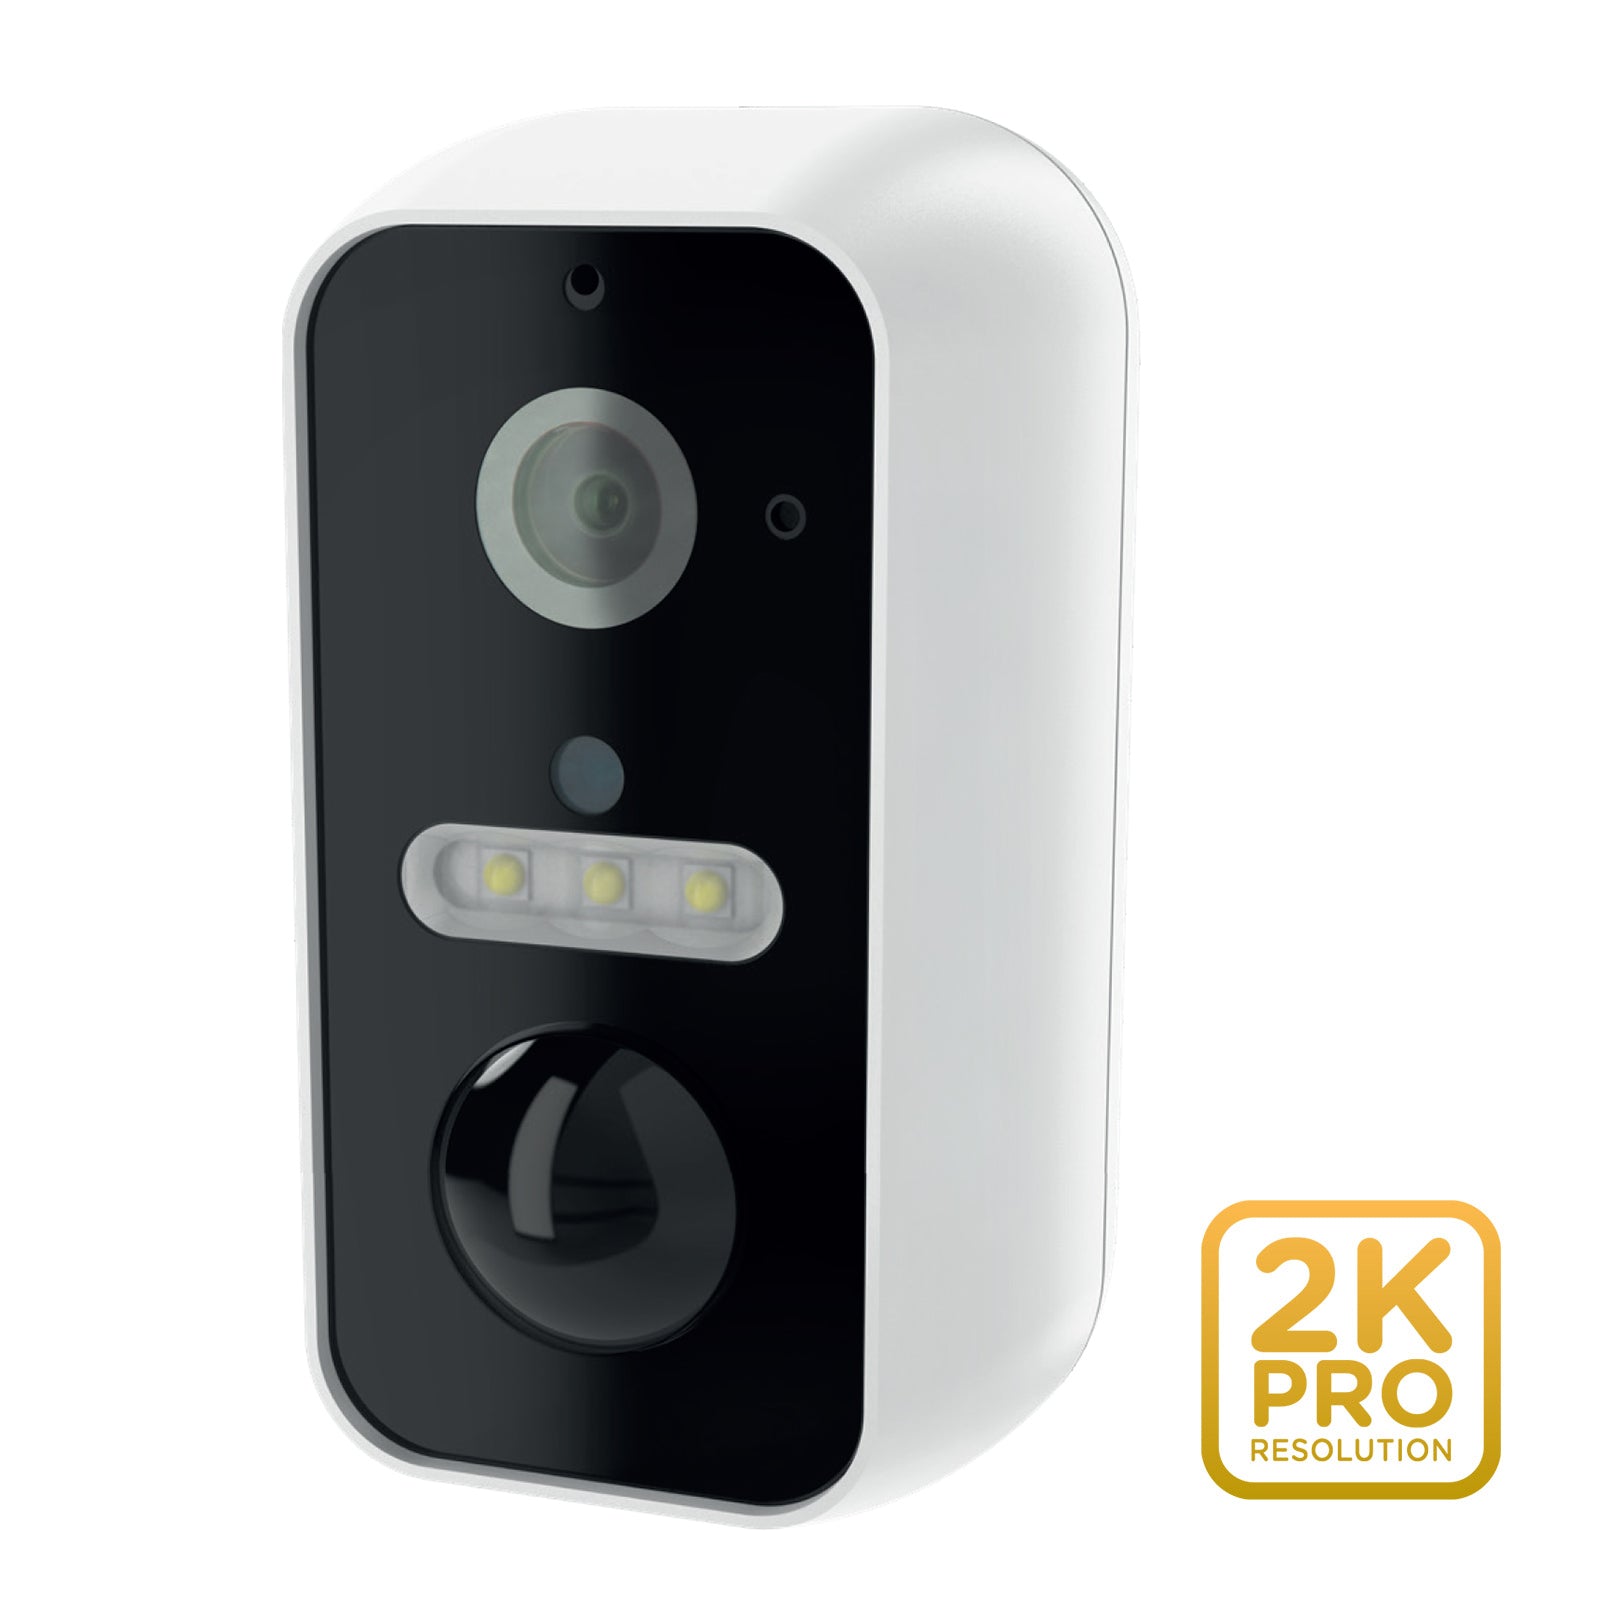
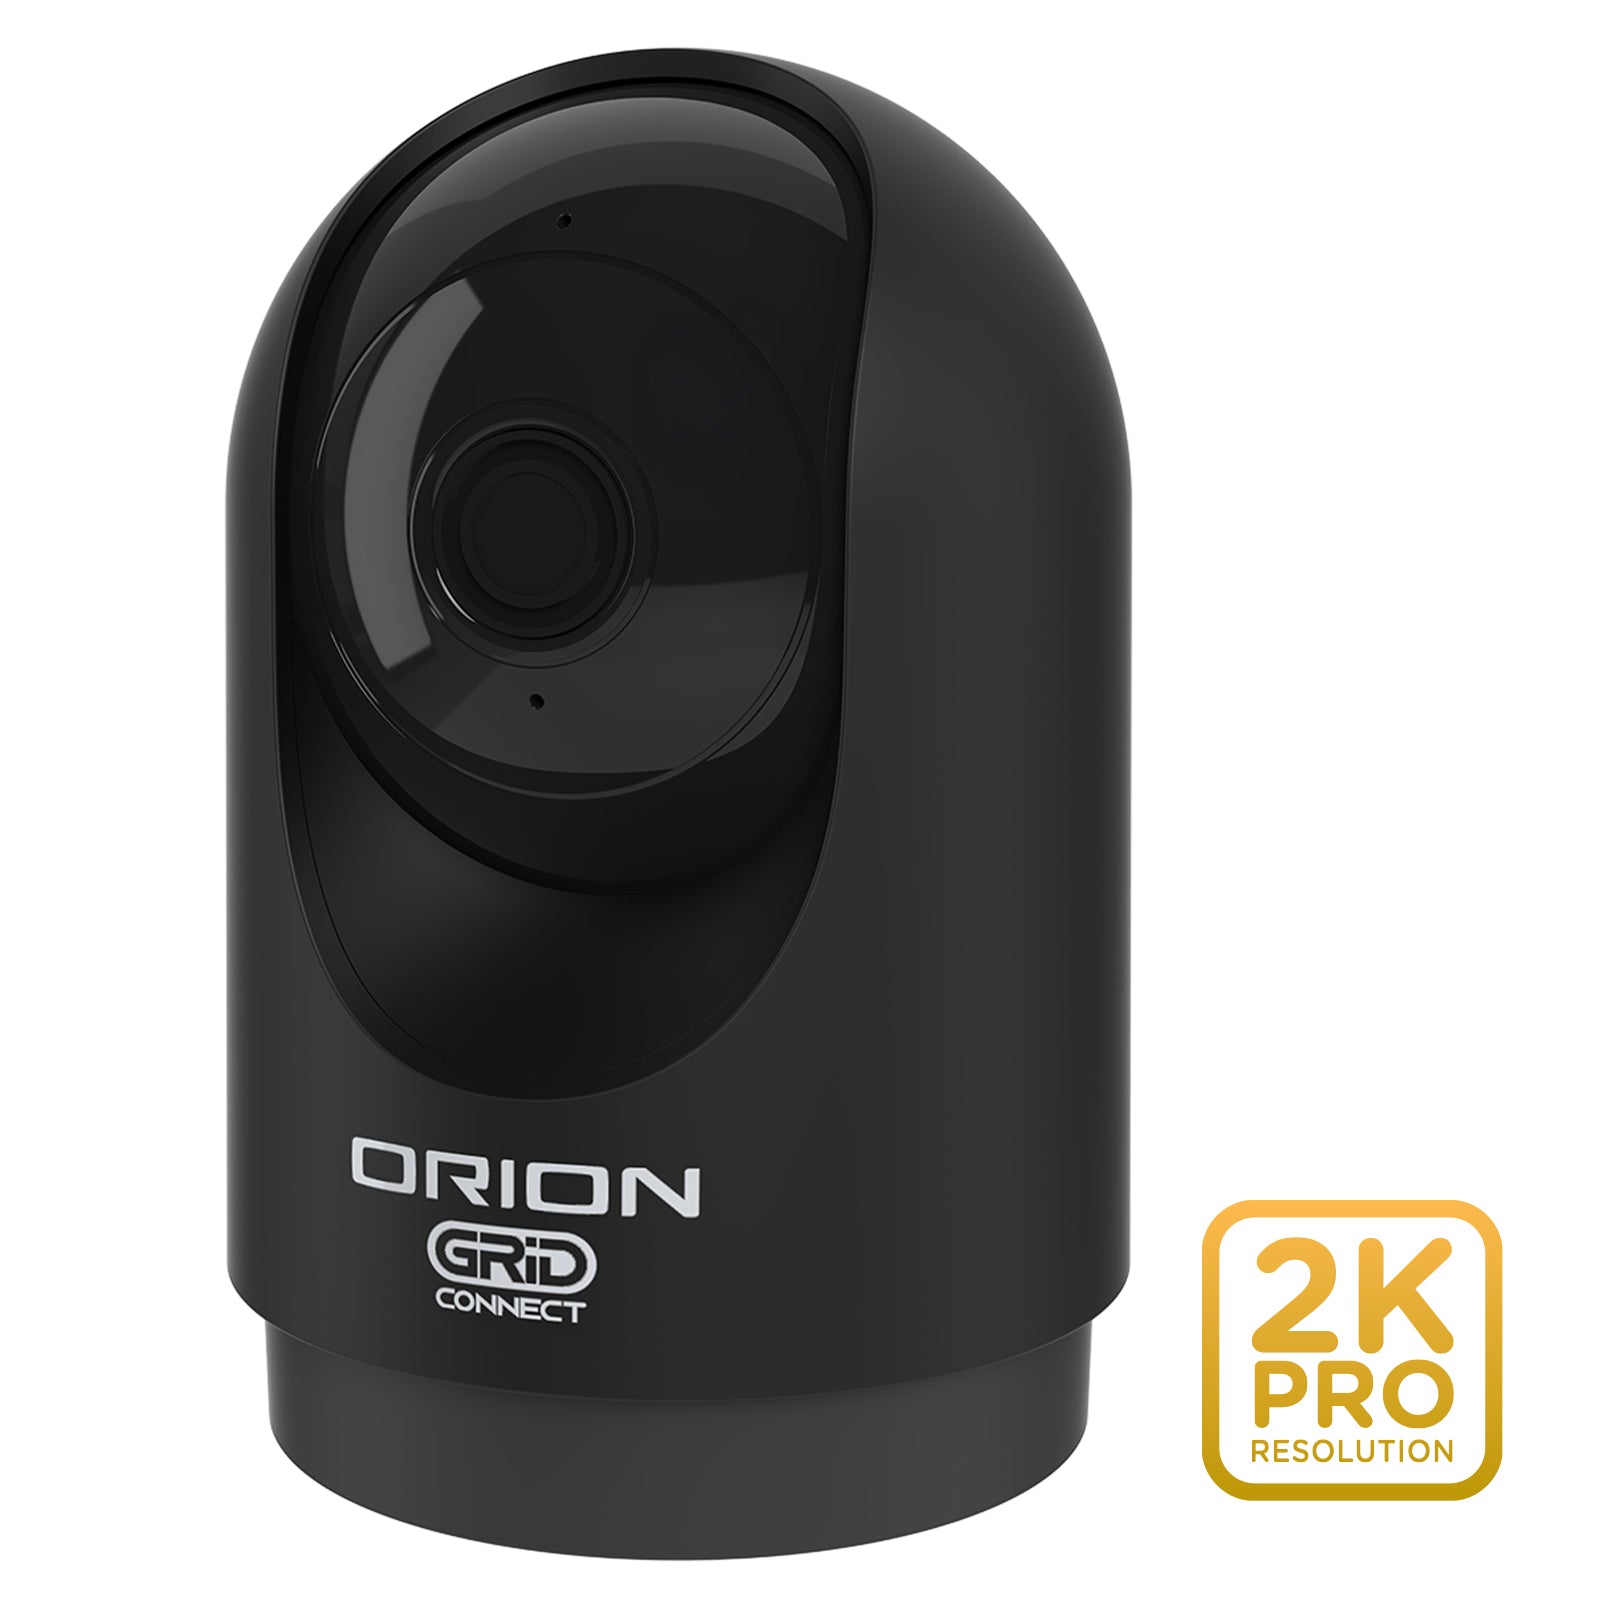
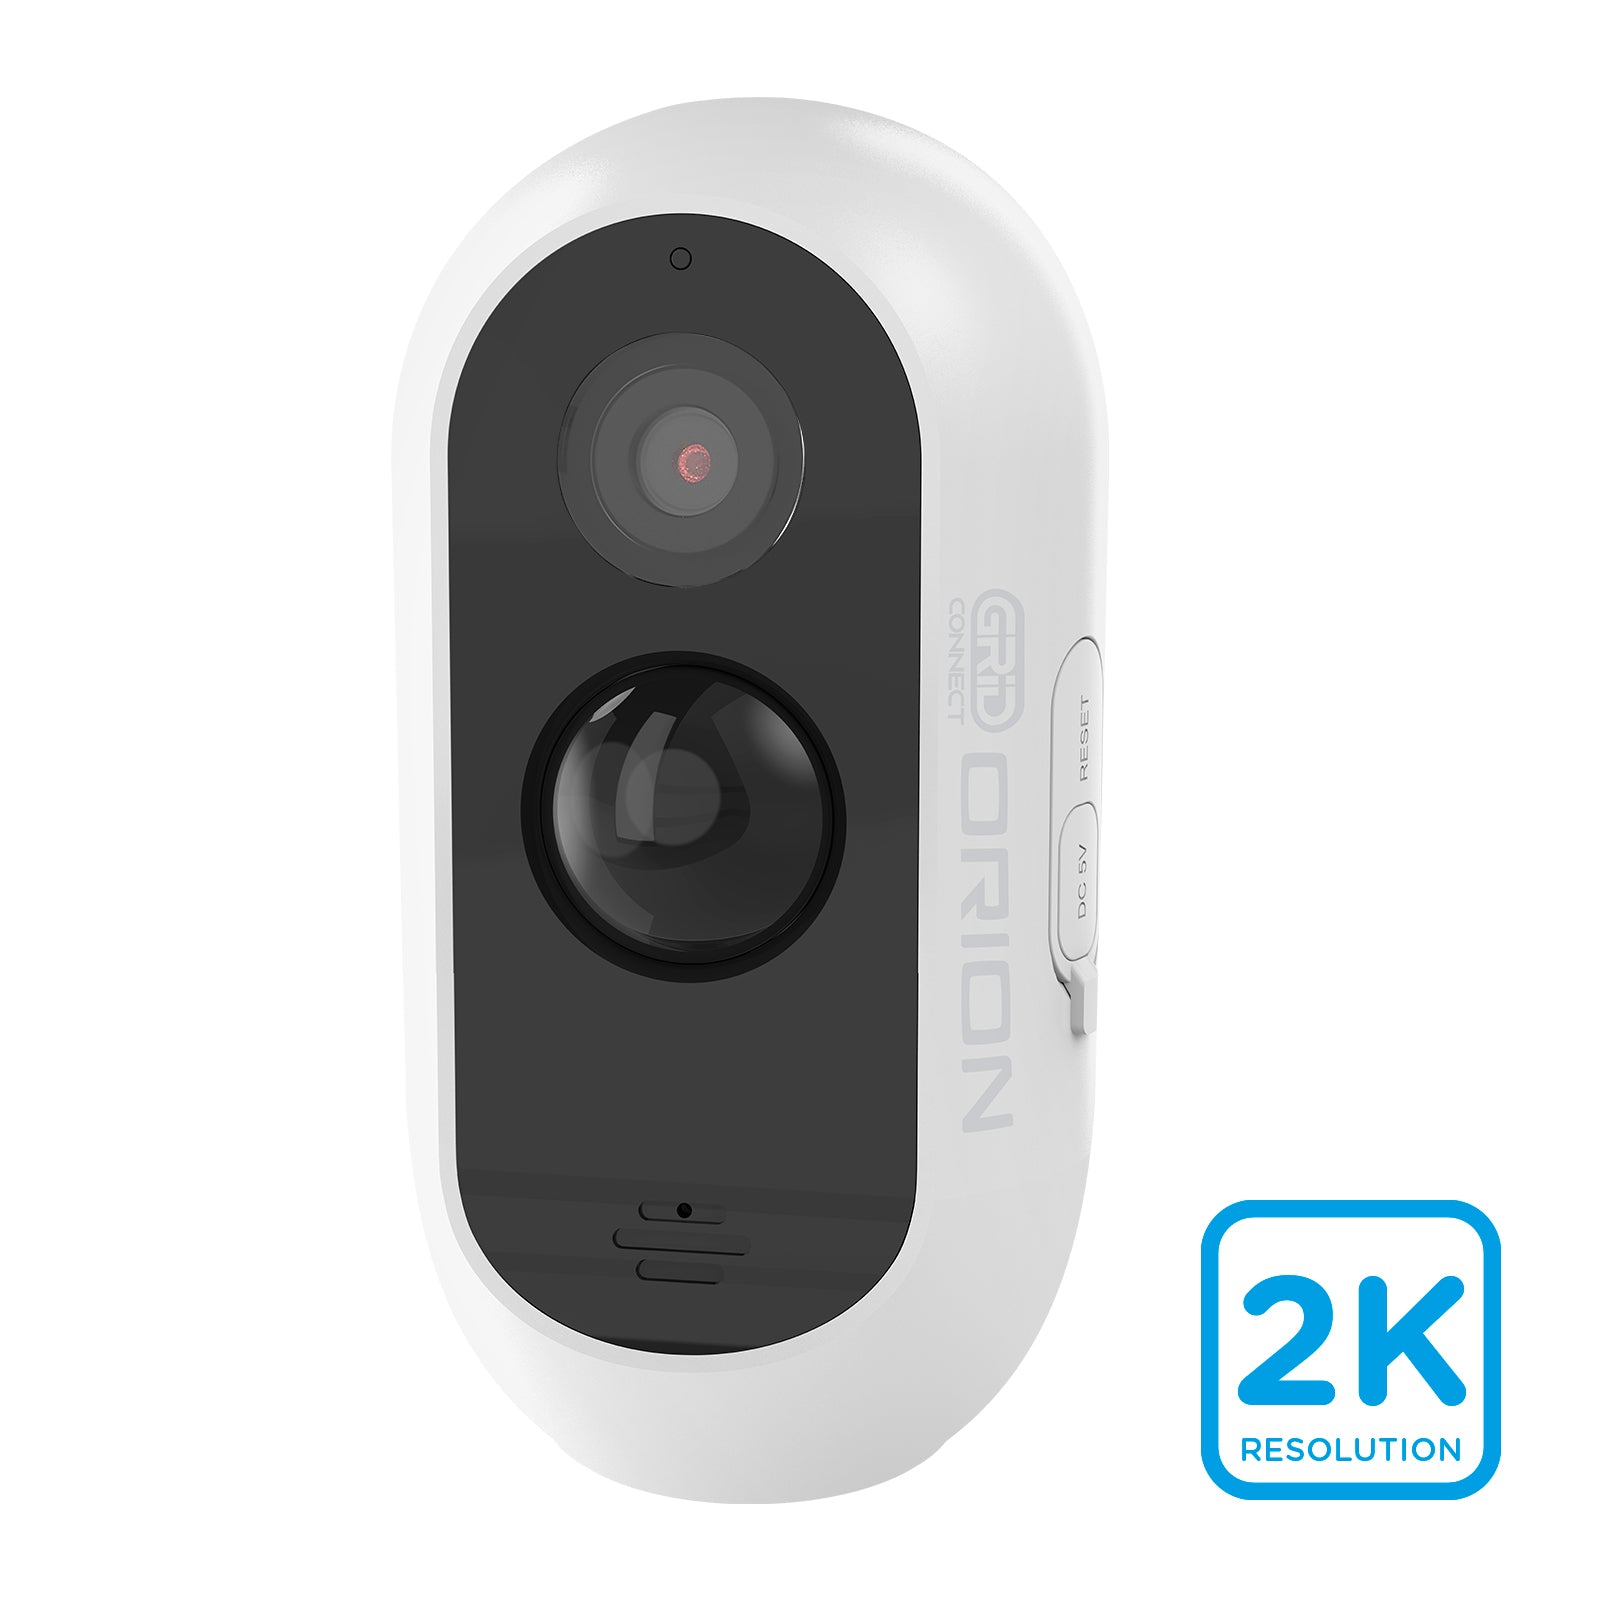
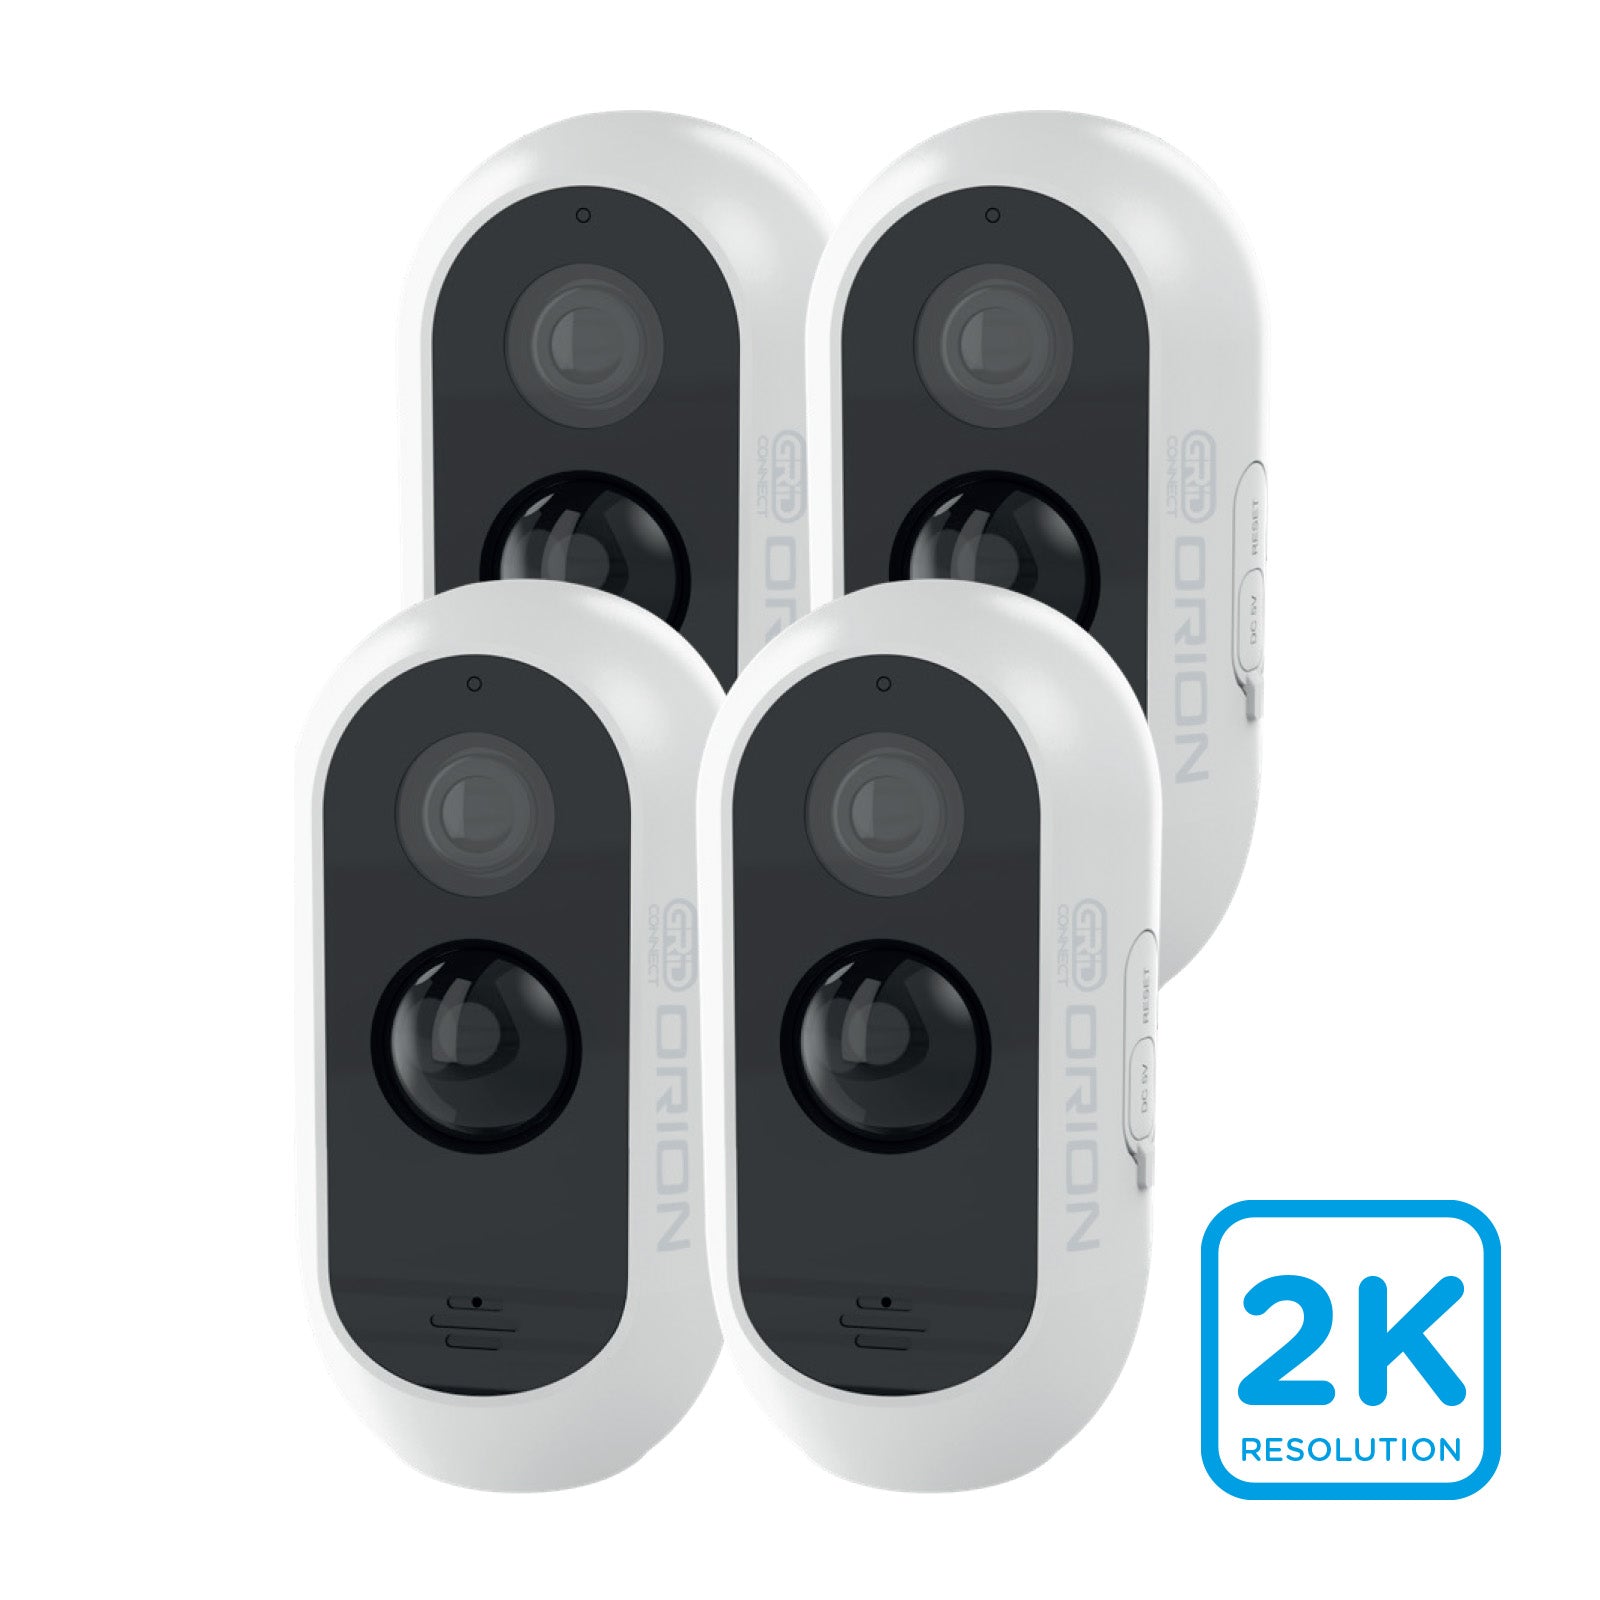
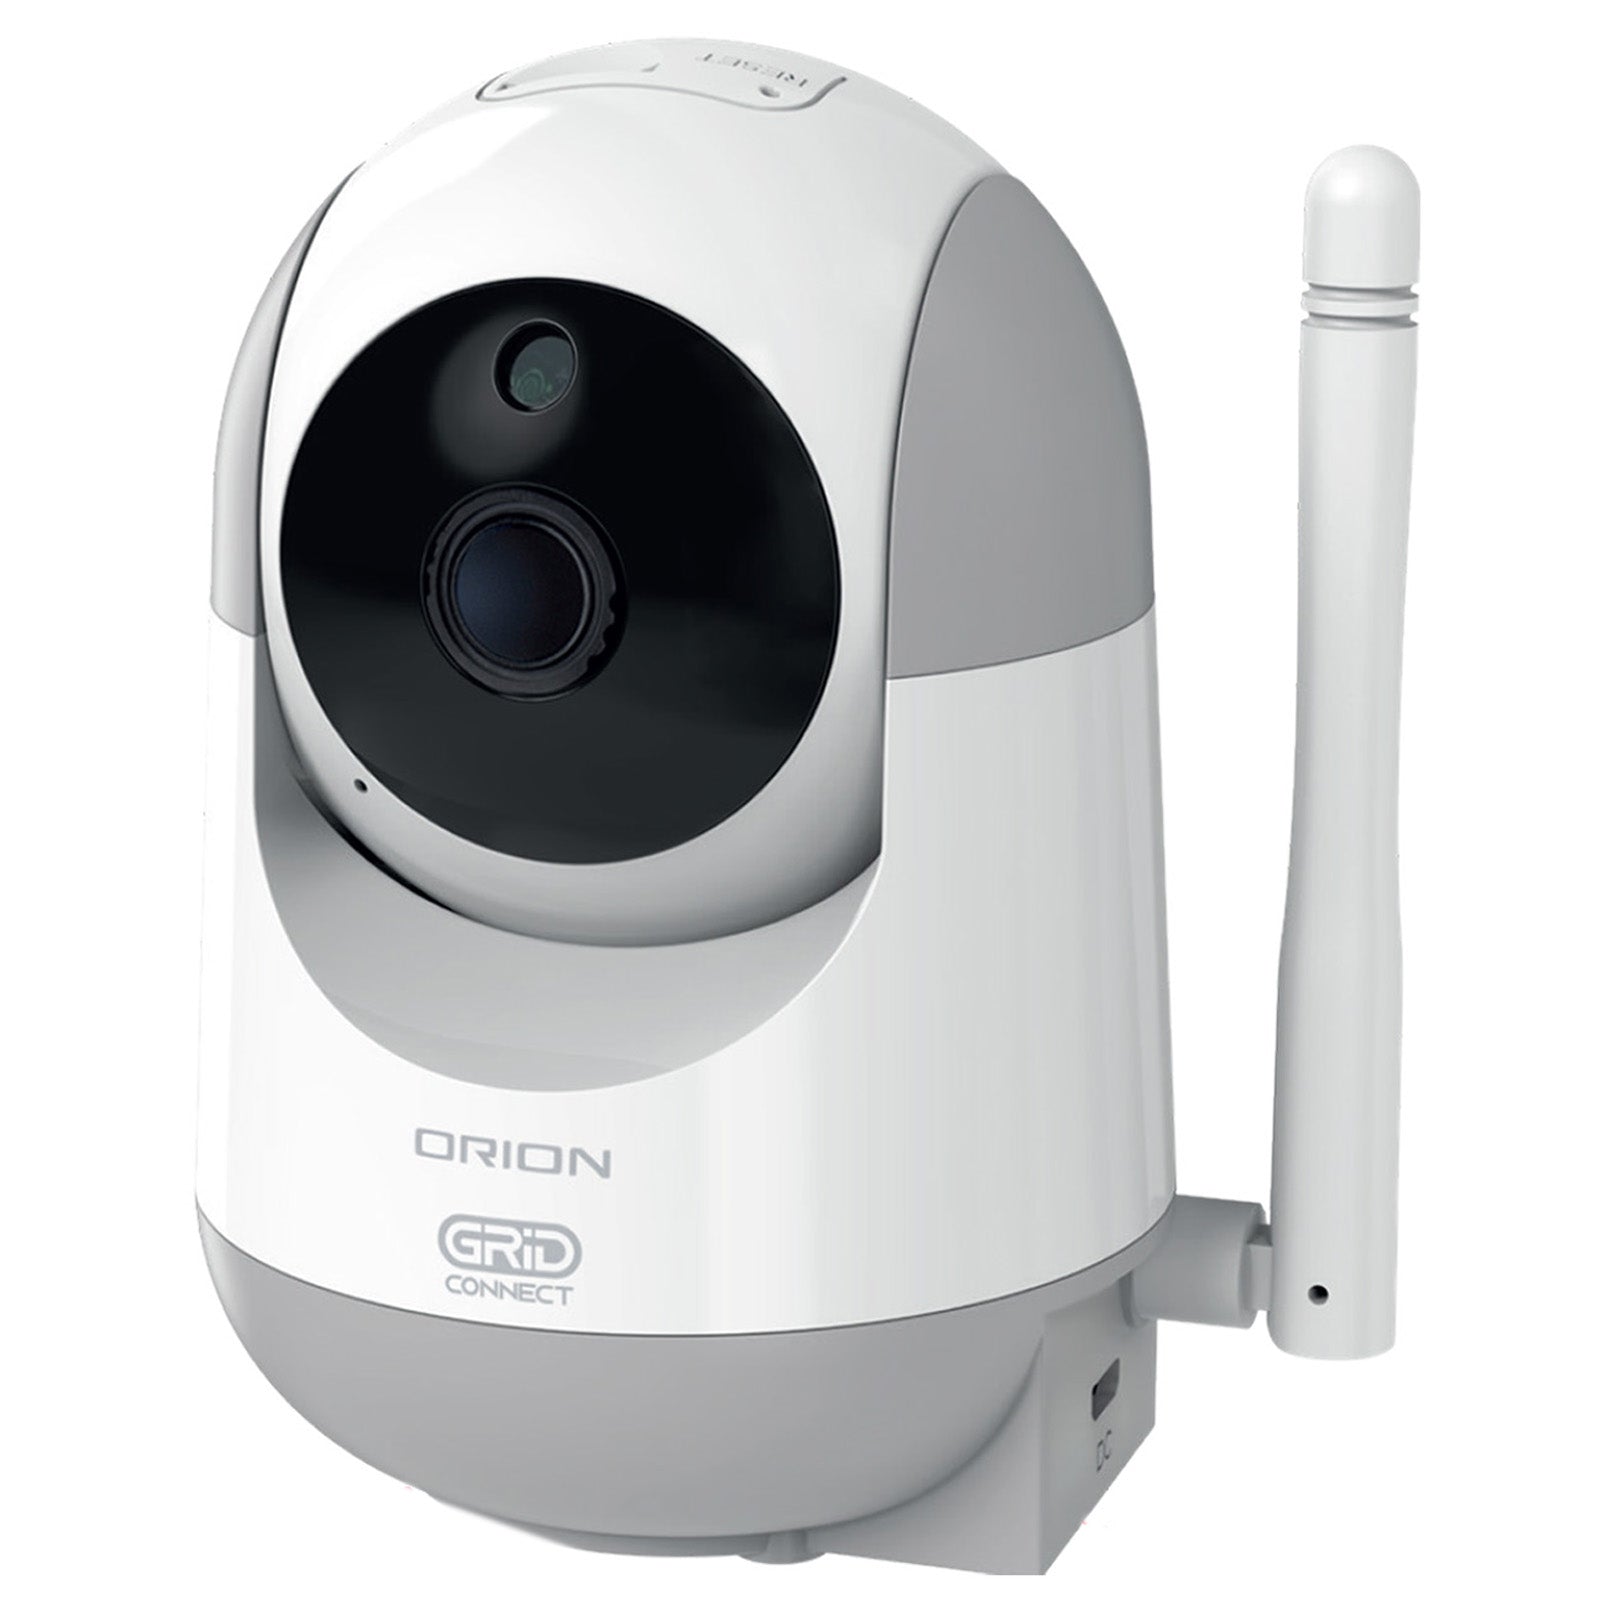
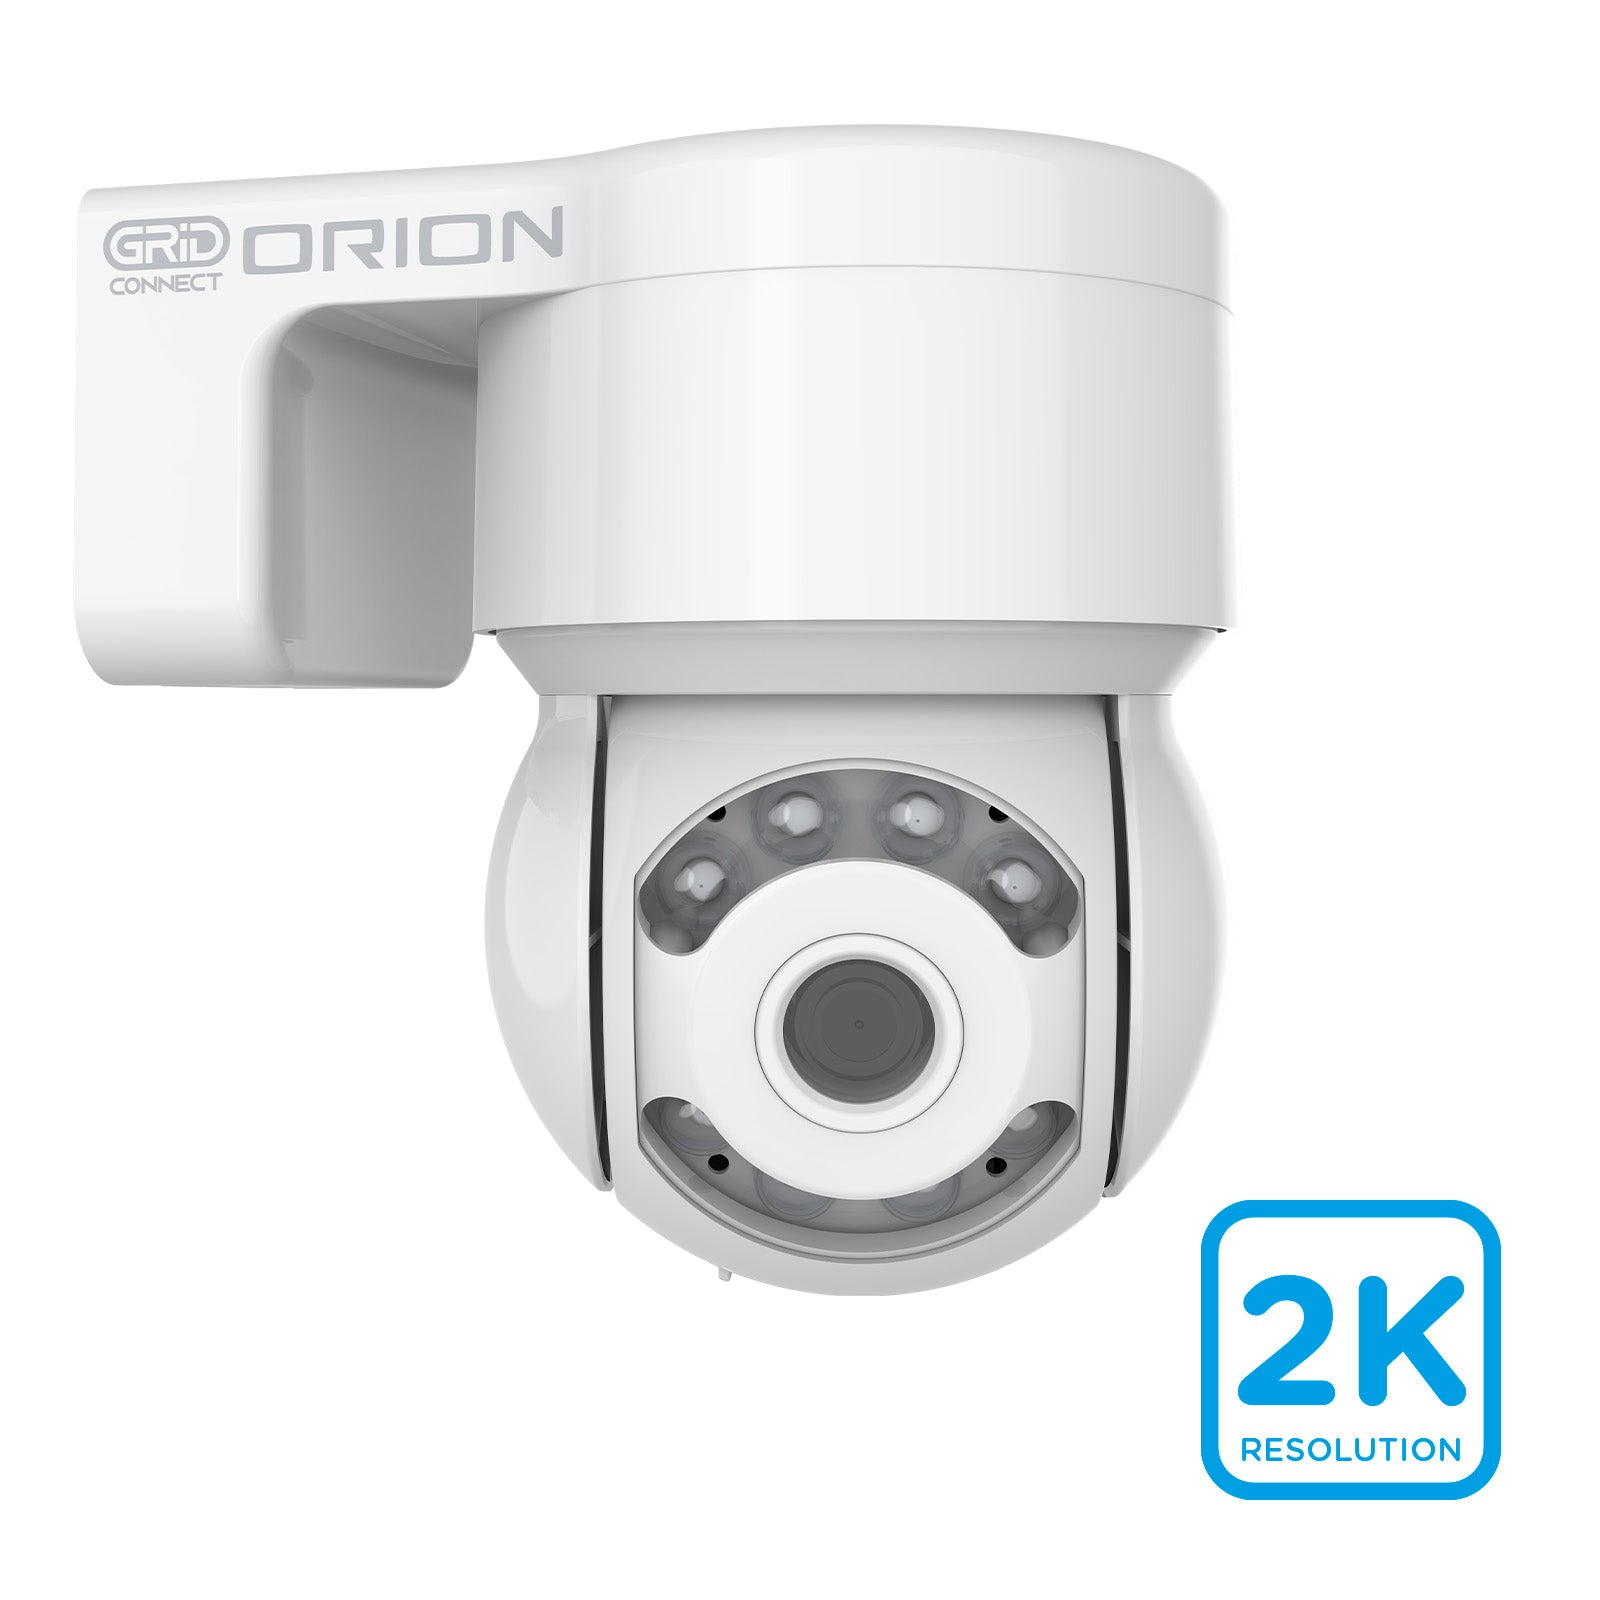
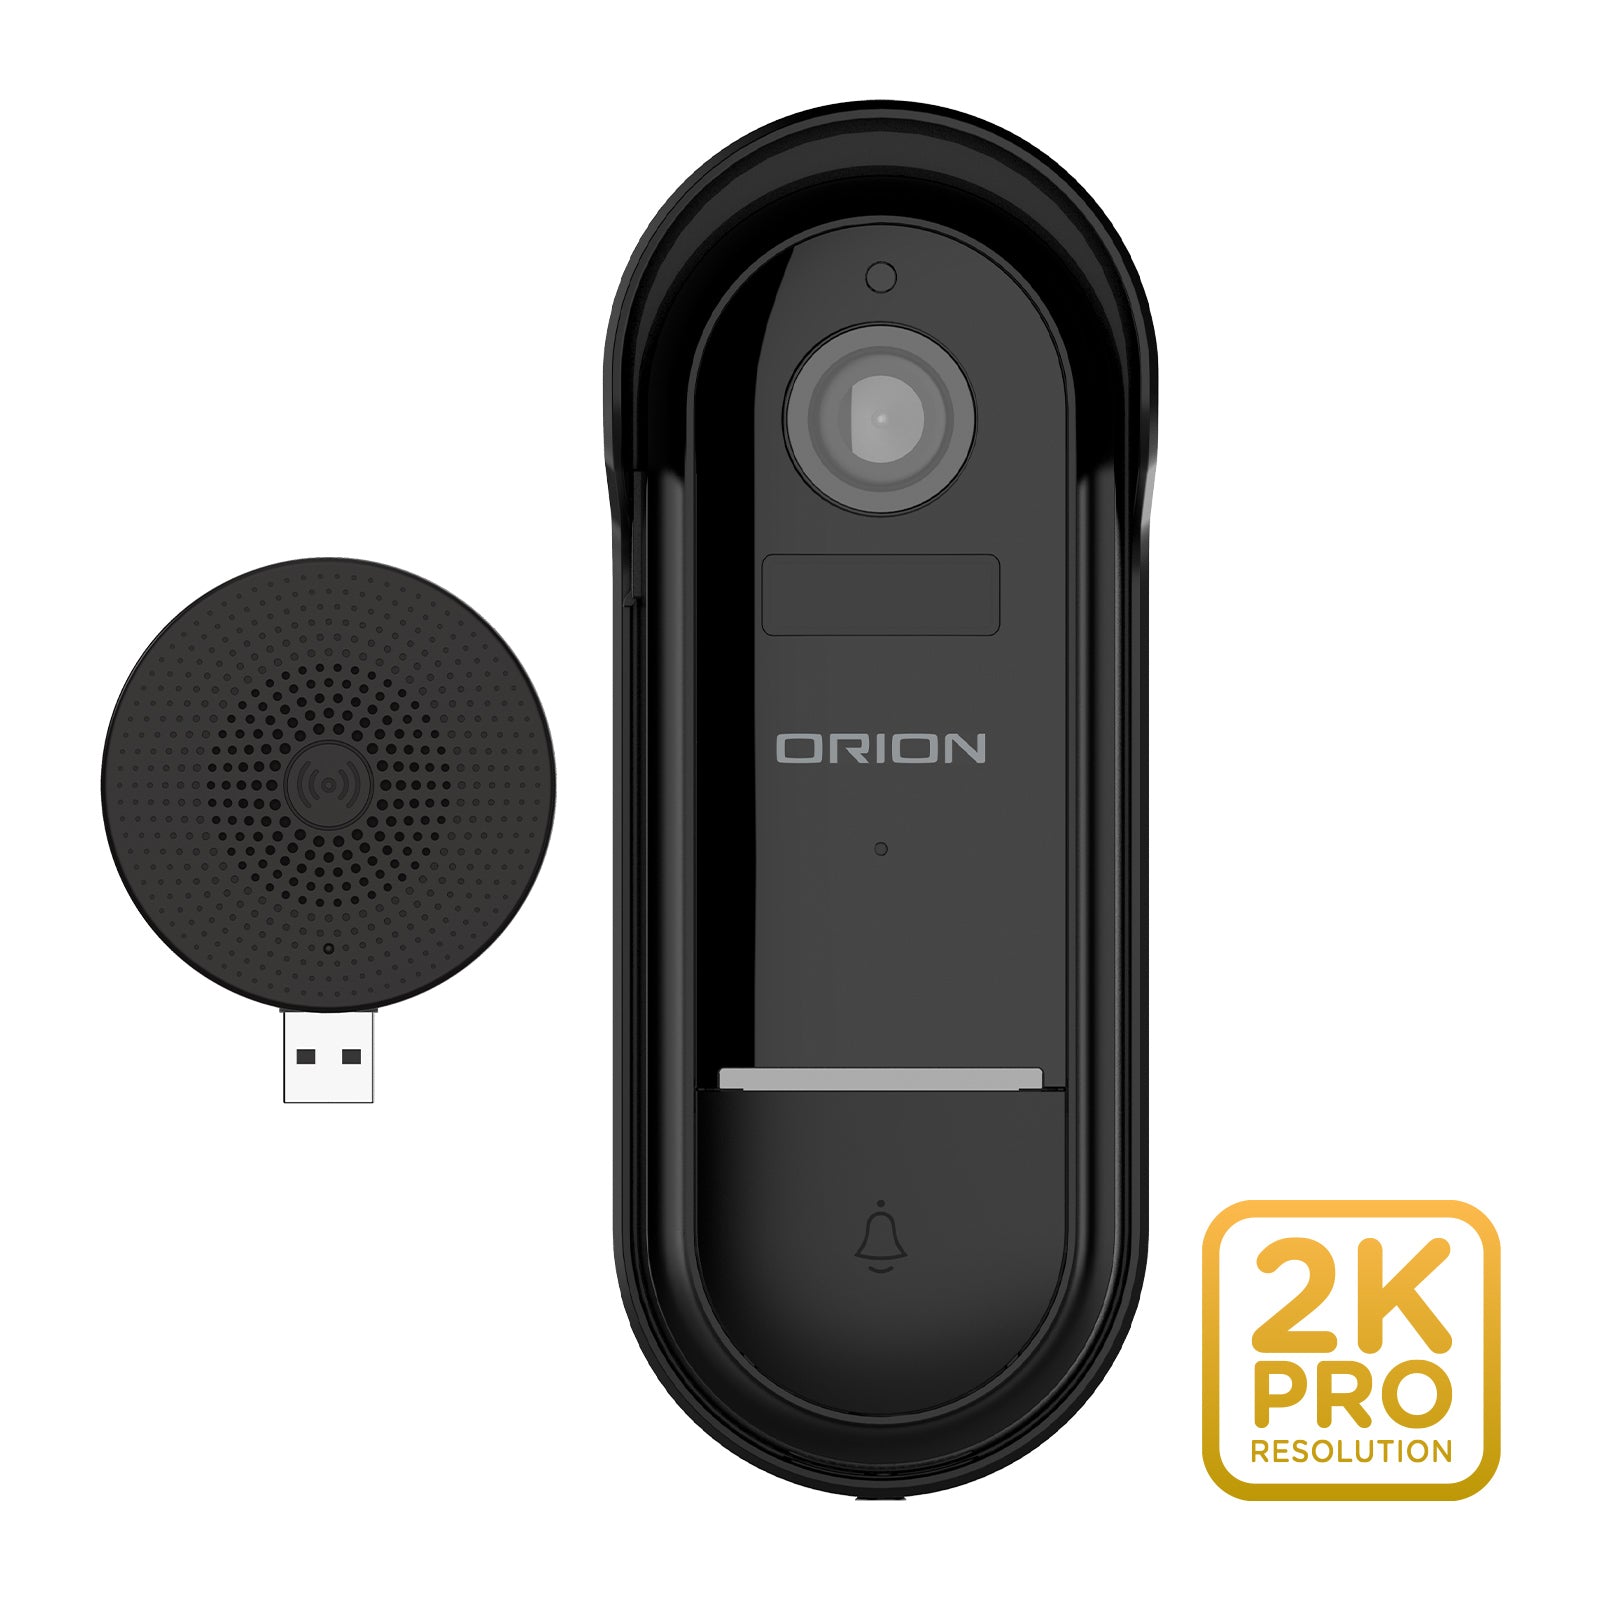
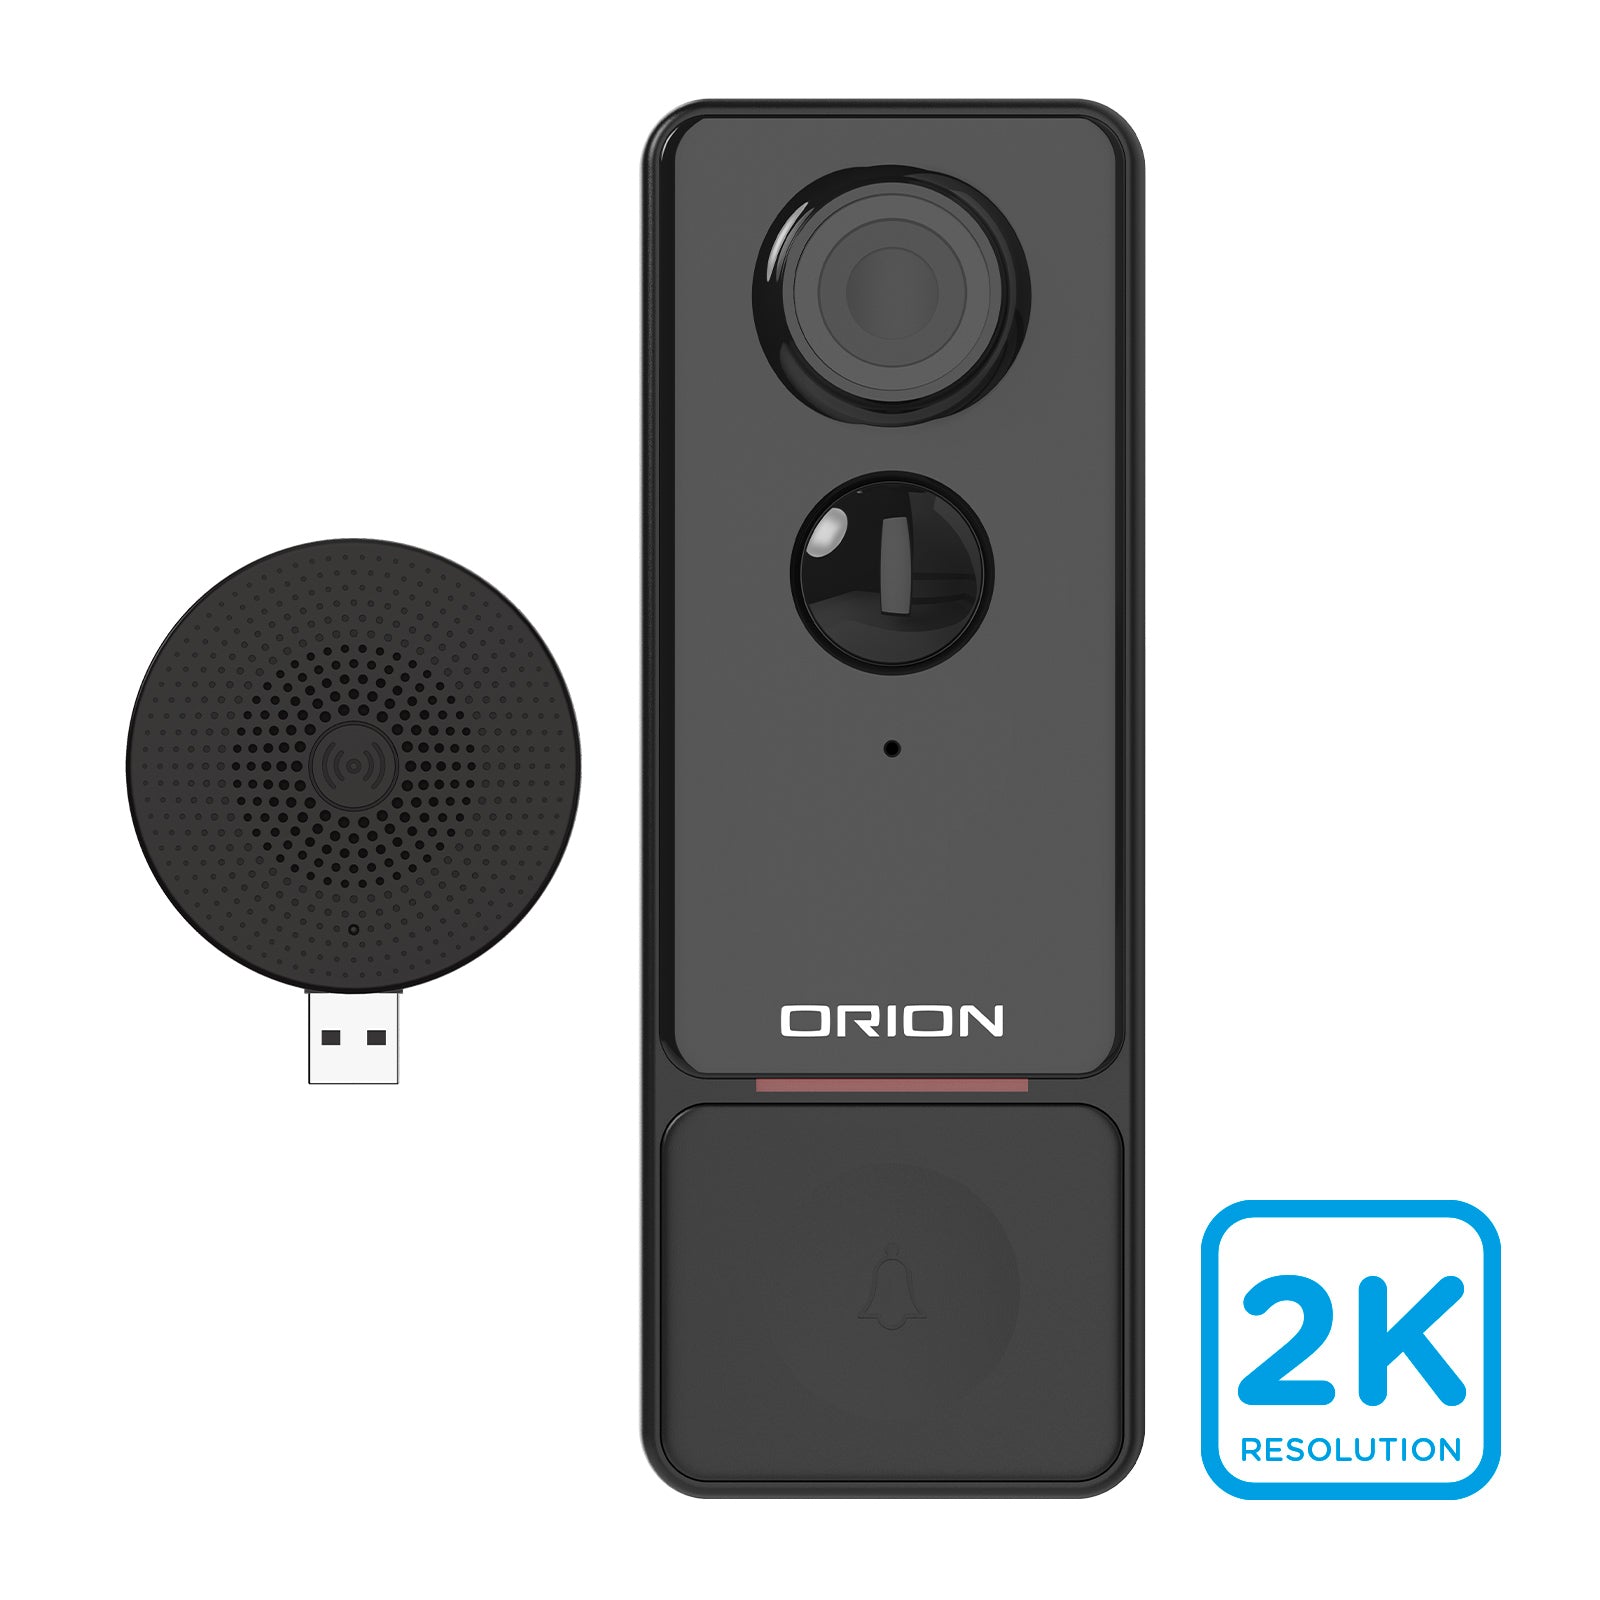
Most Grid Connect smart security cameras support 2K resolution or higher. Exact specifications are shown on the packaging.
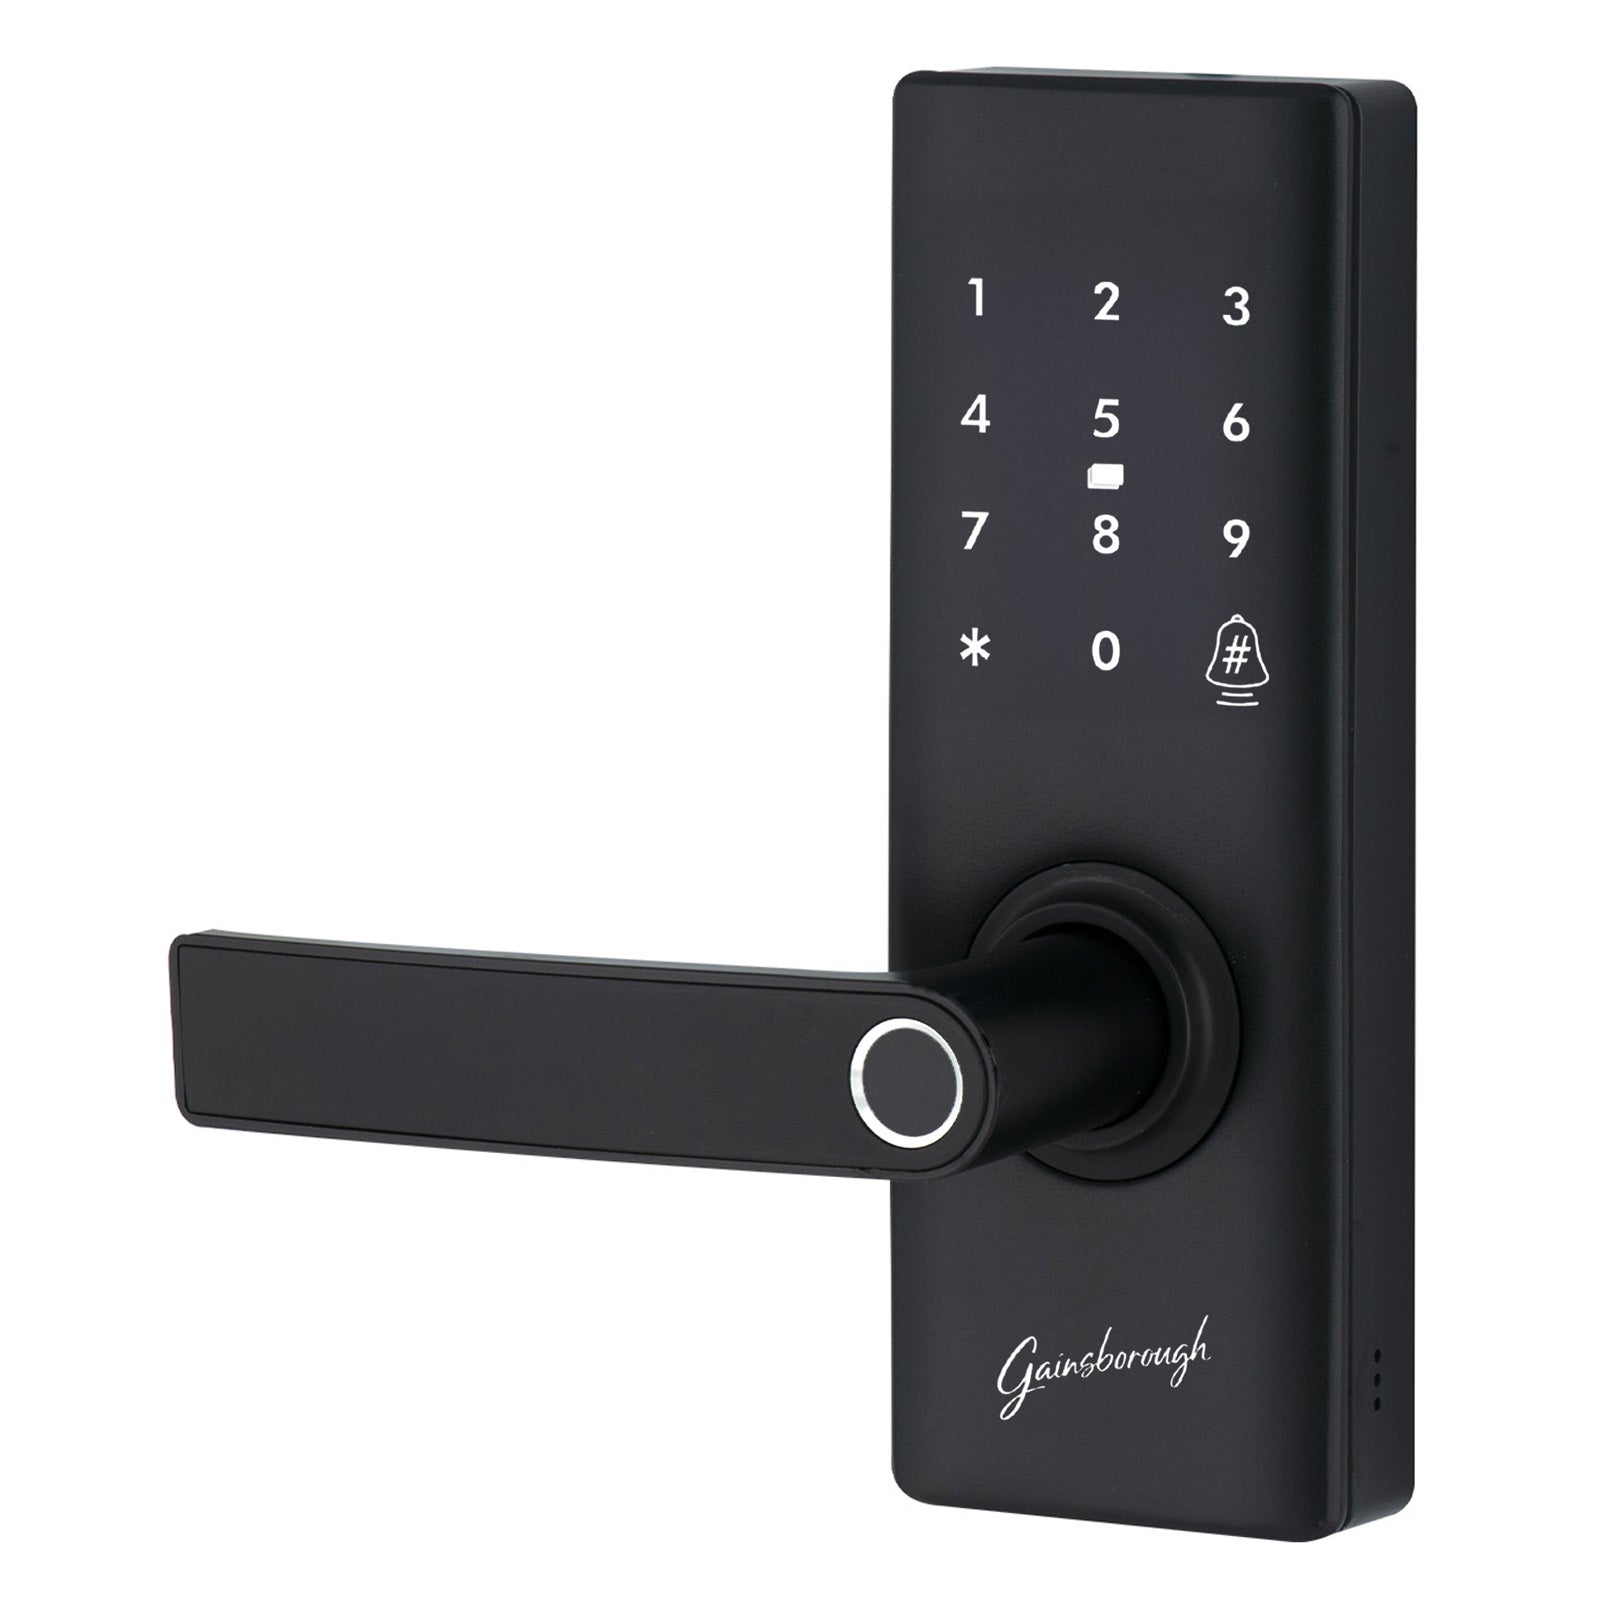
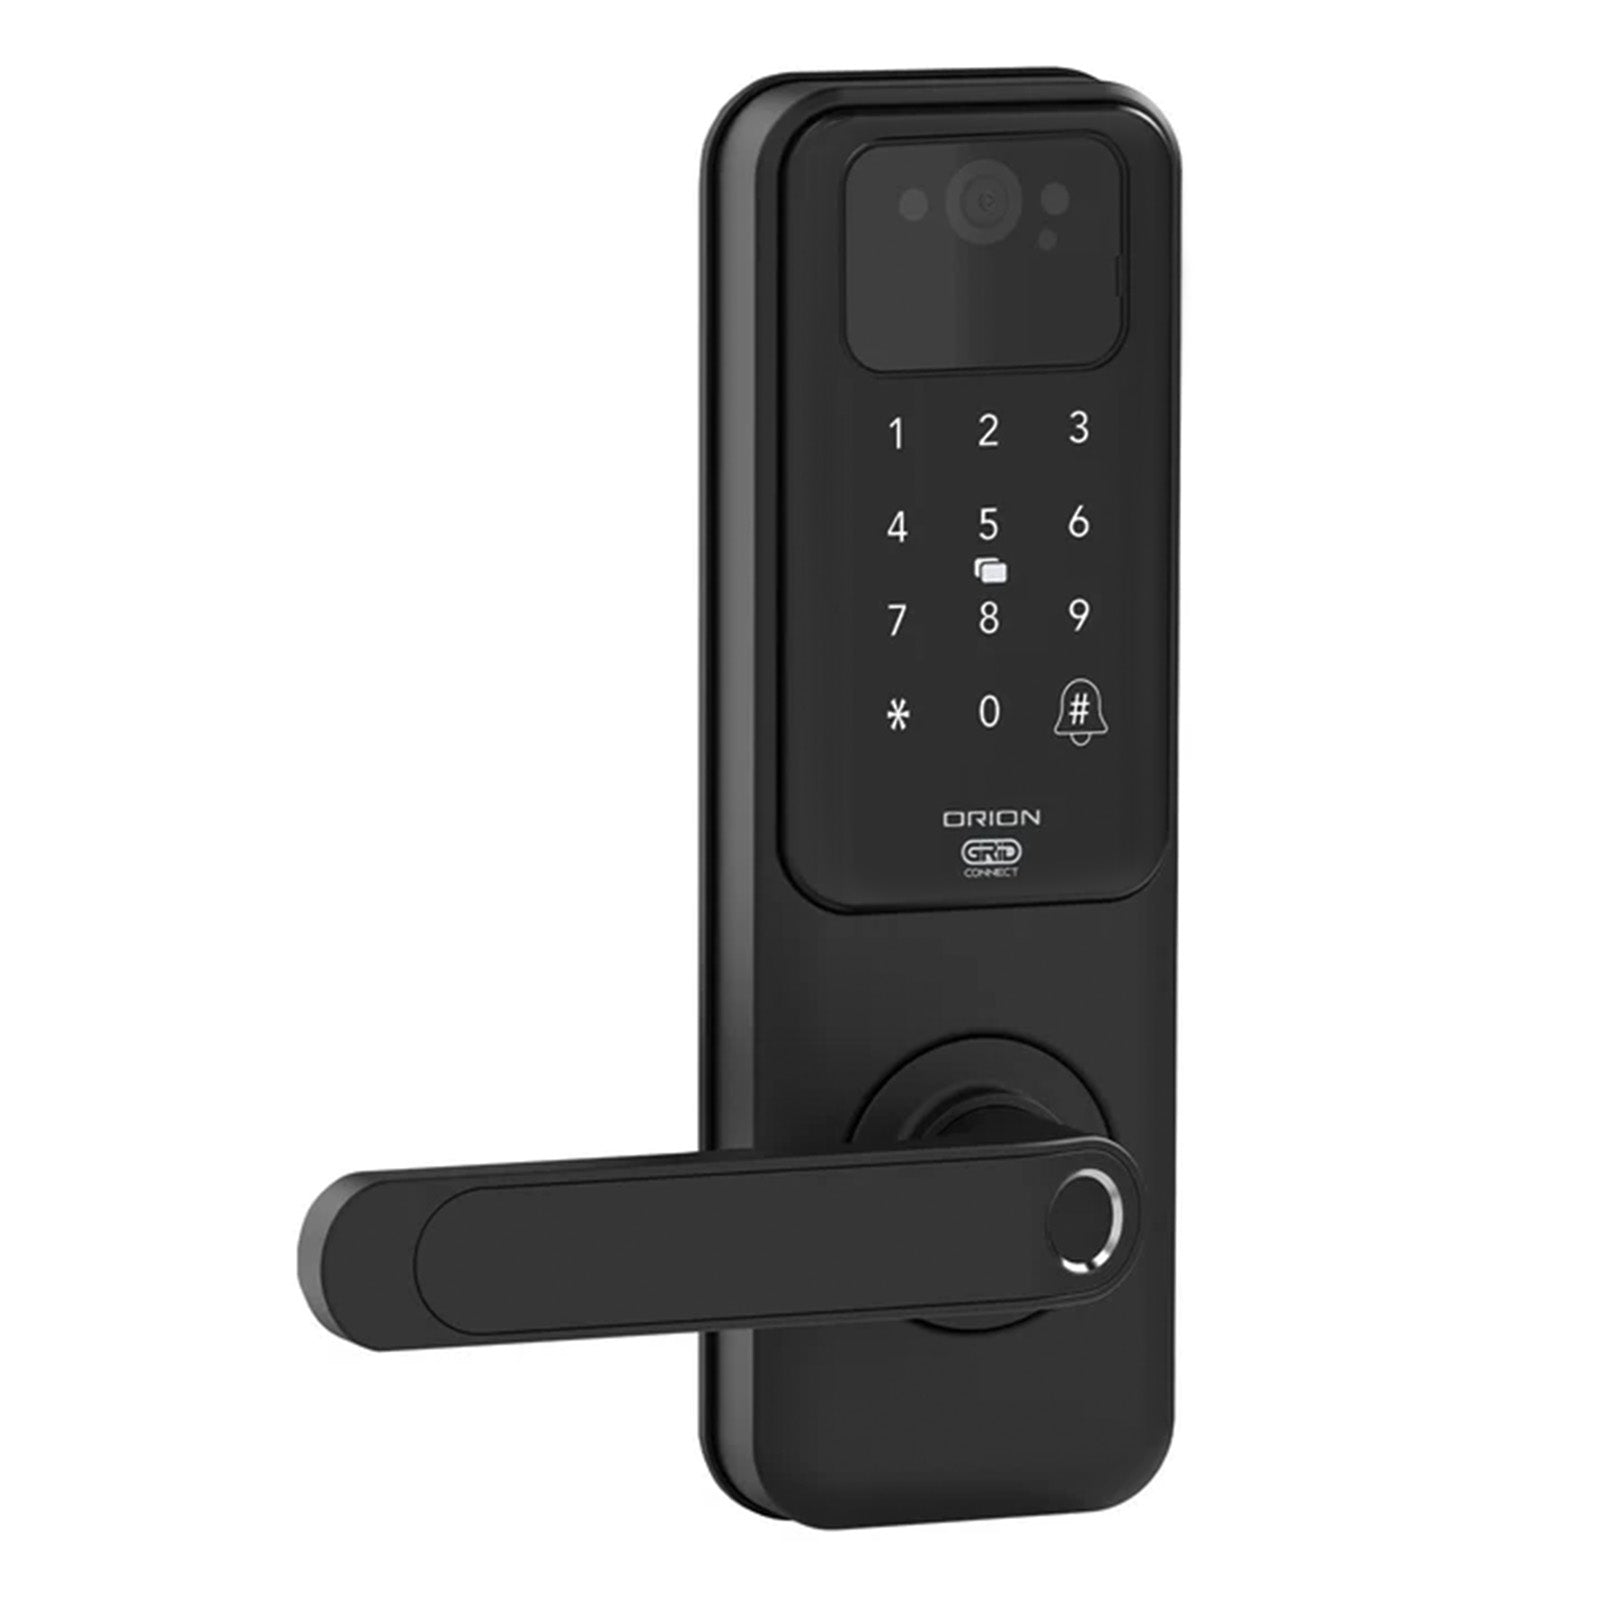
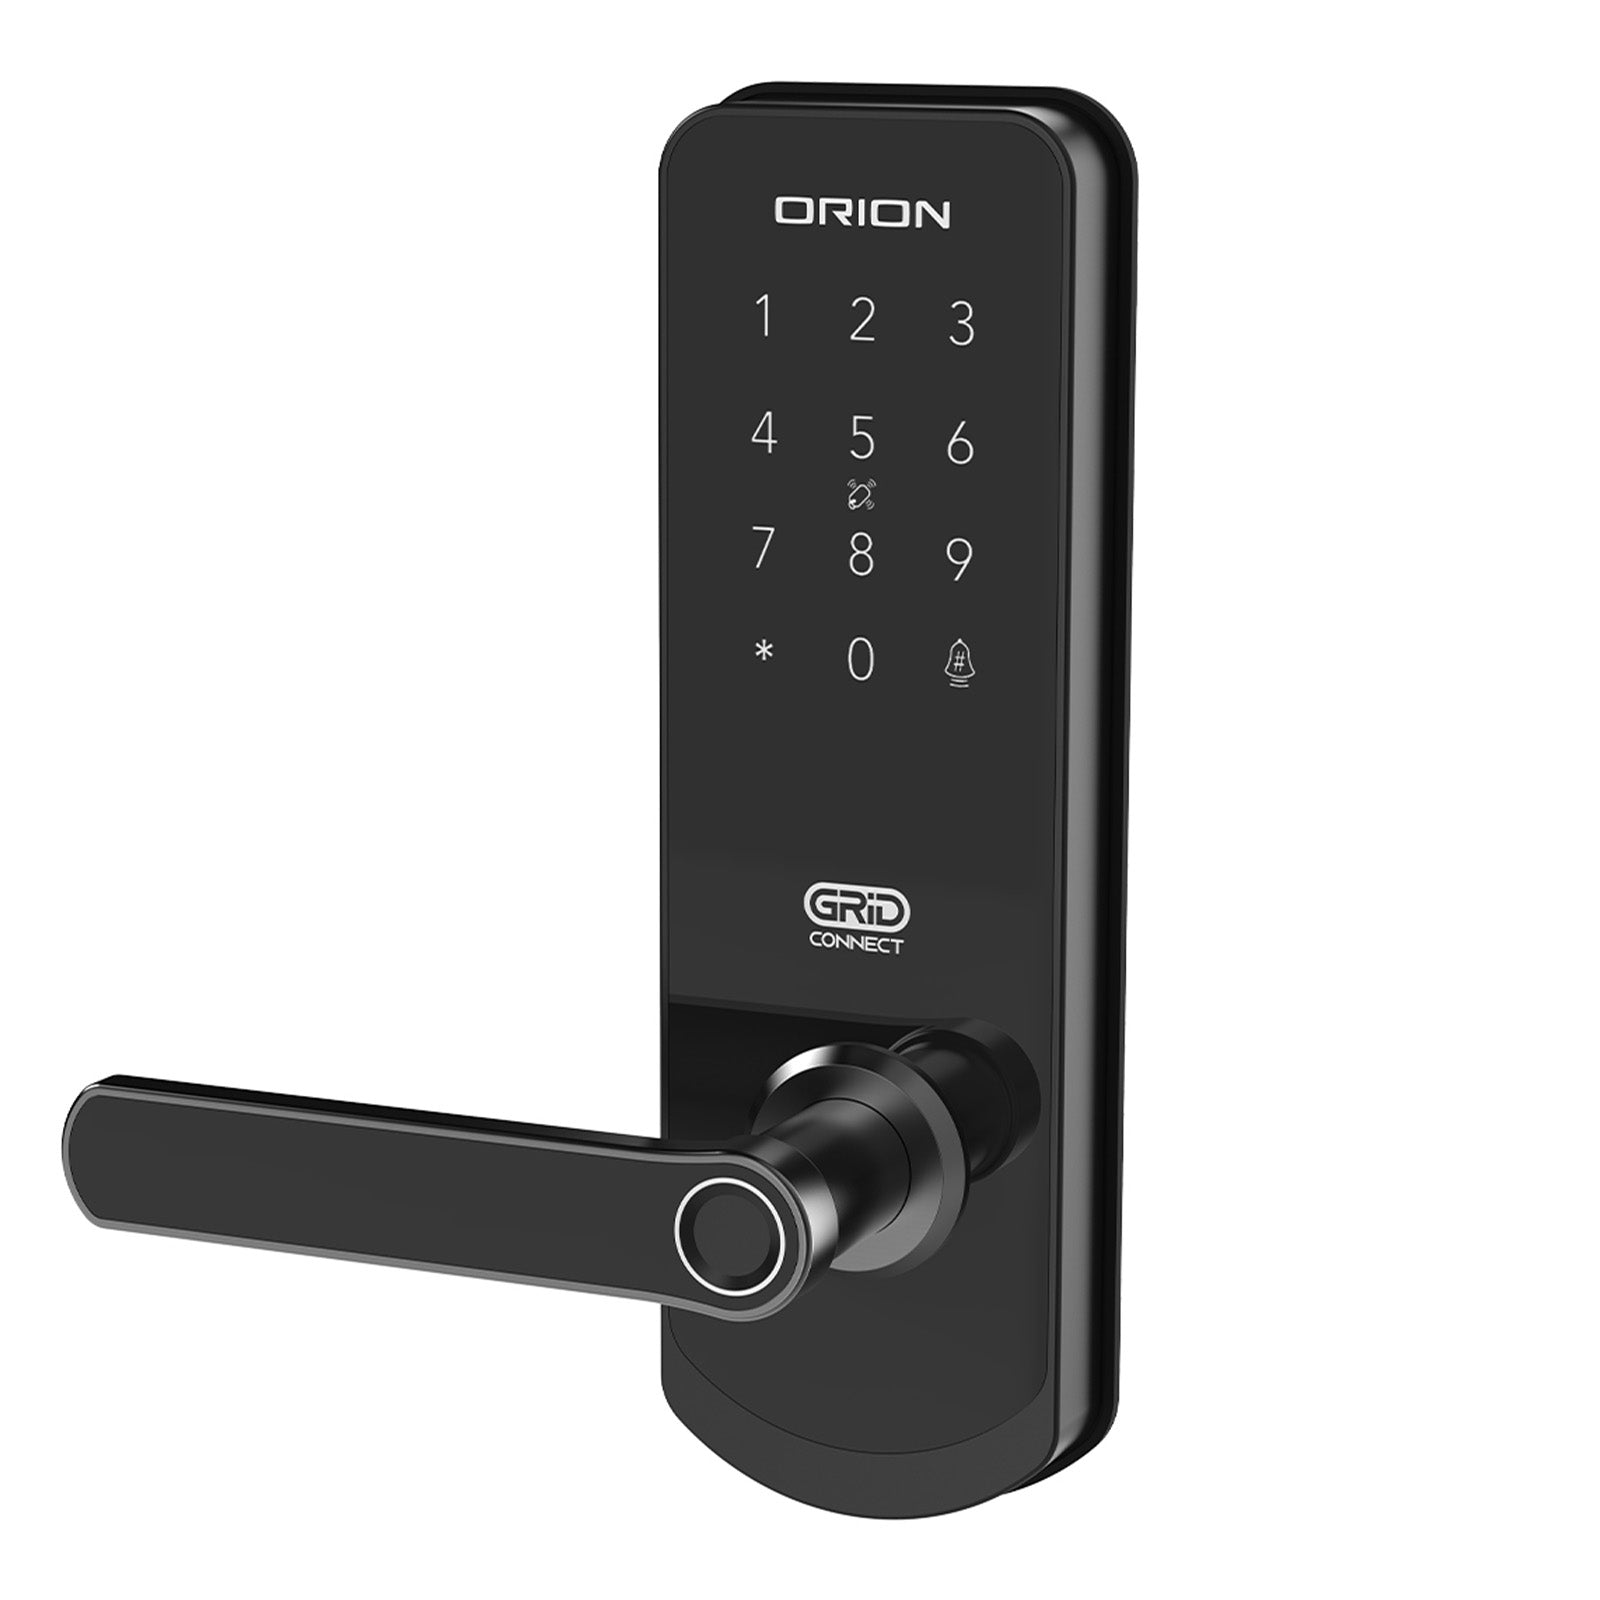
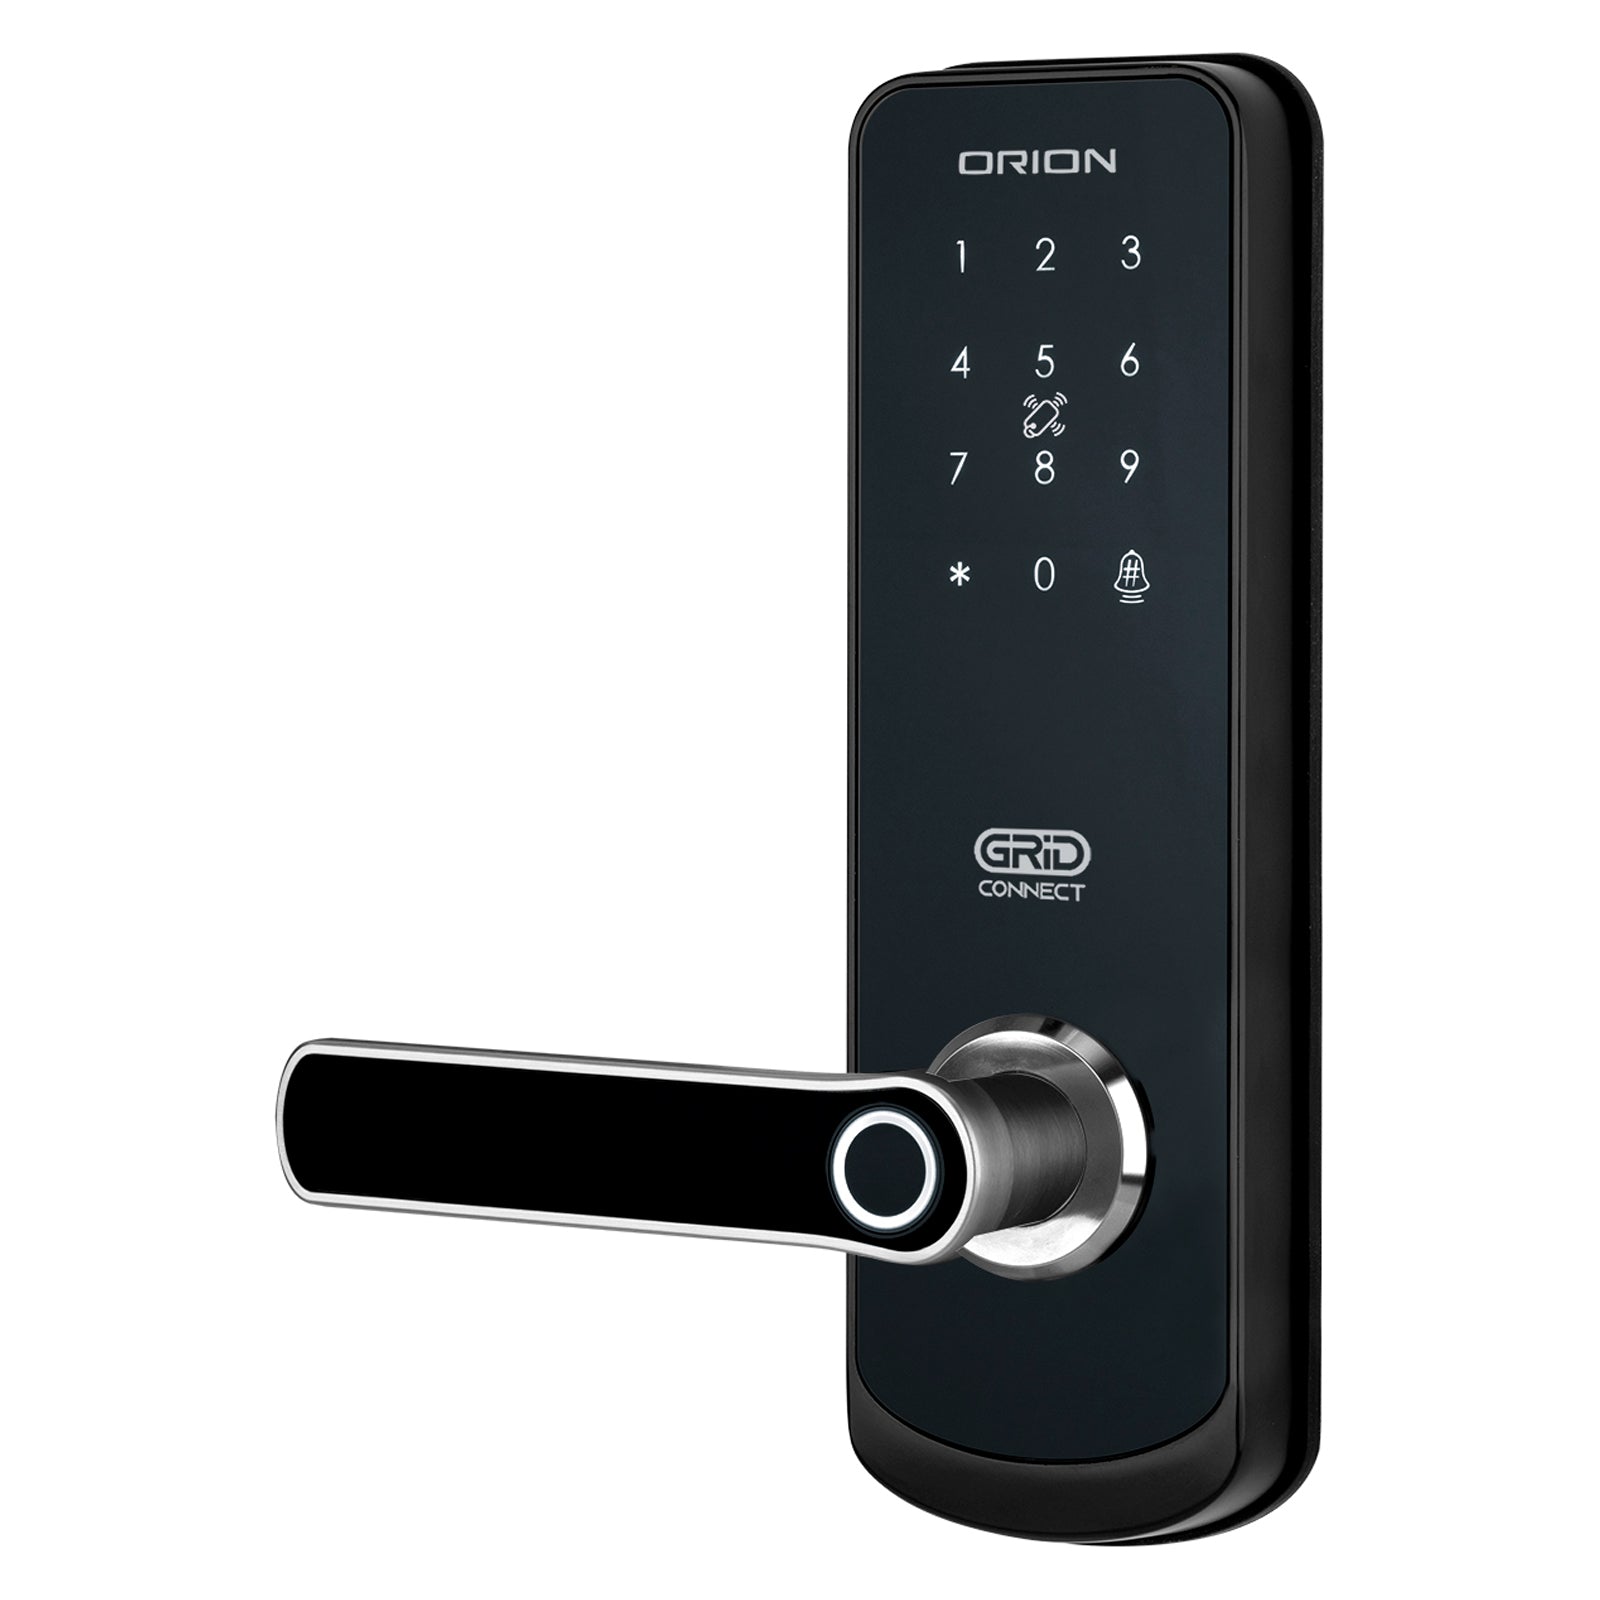
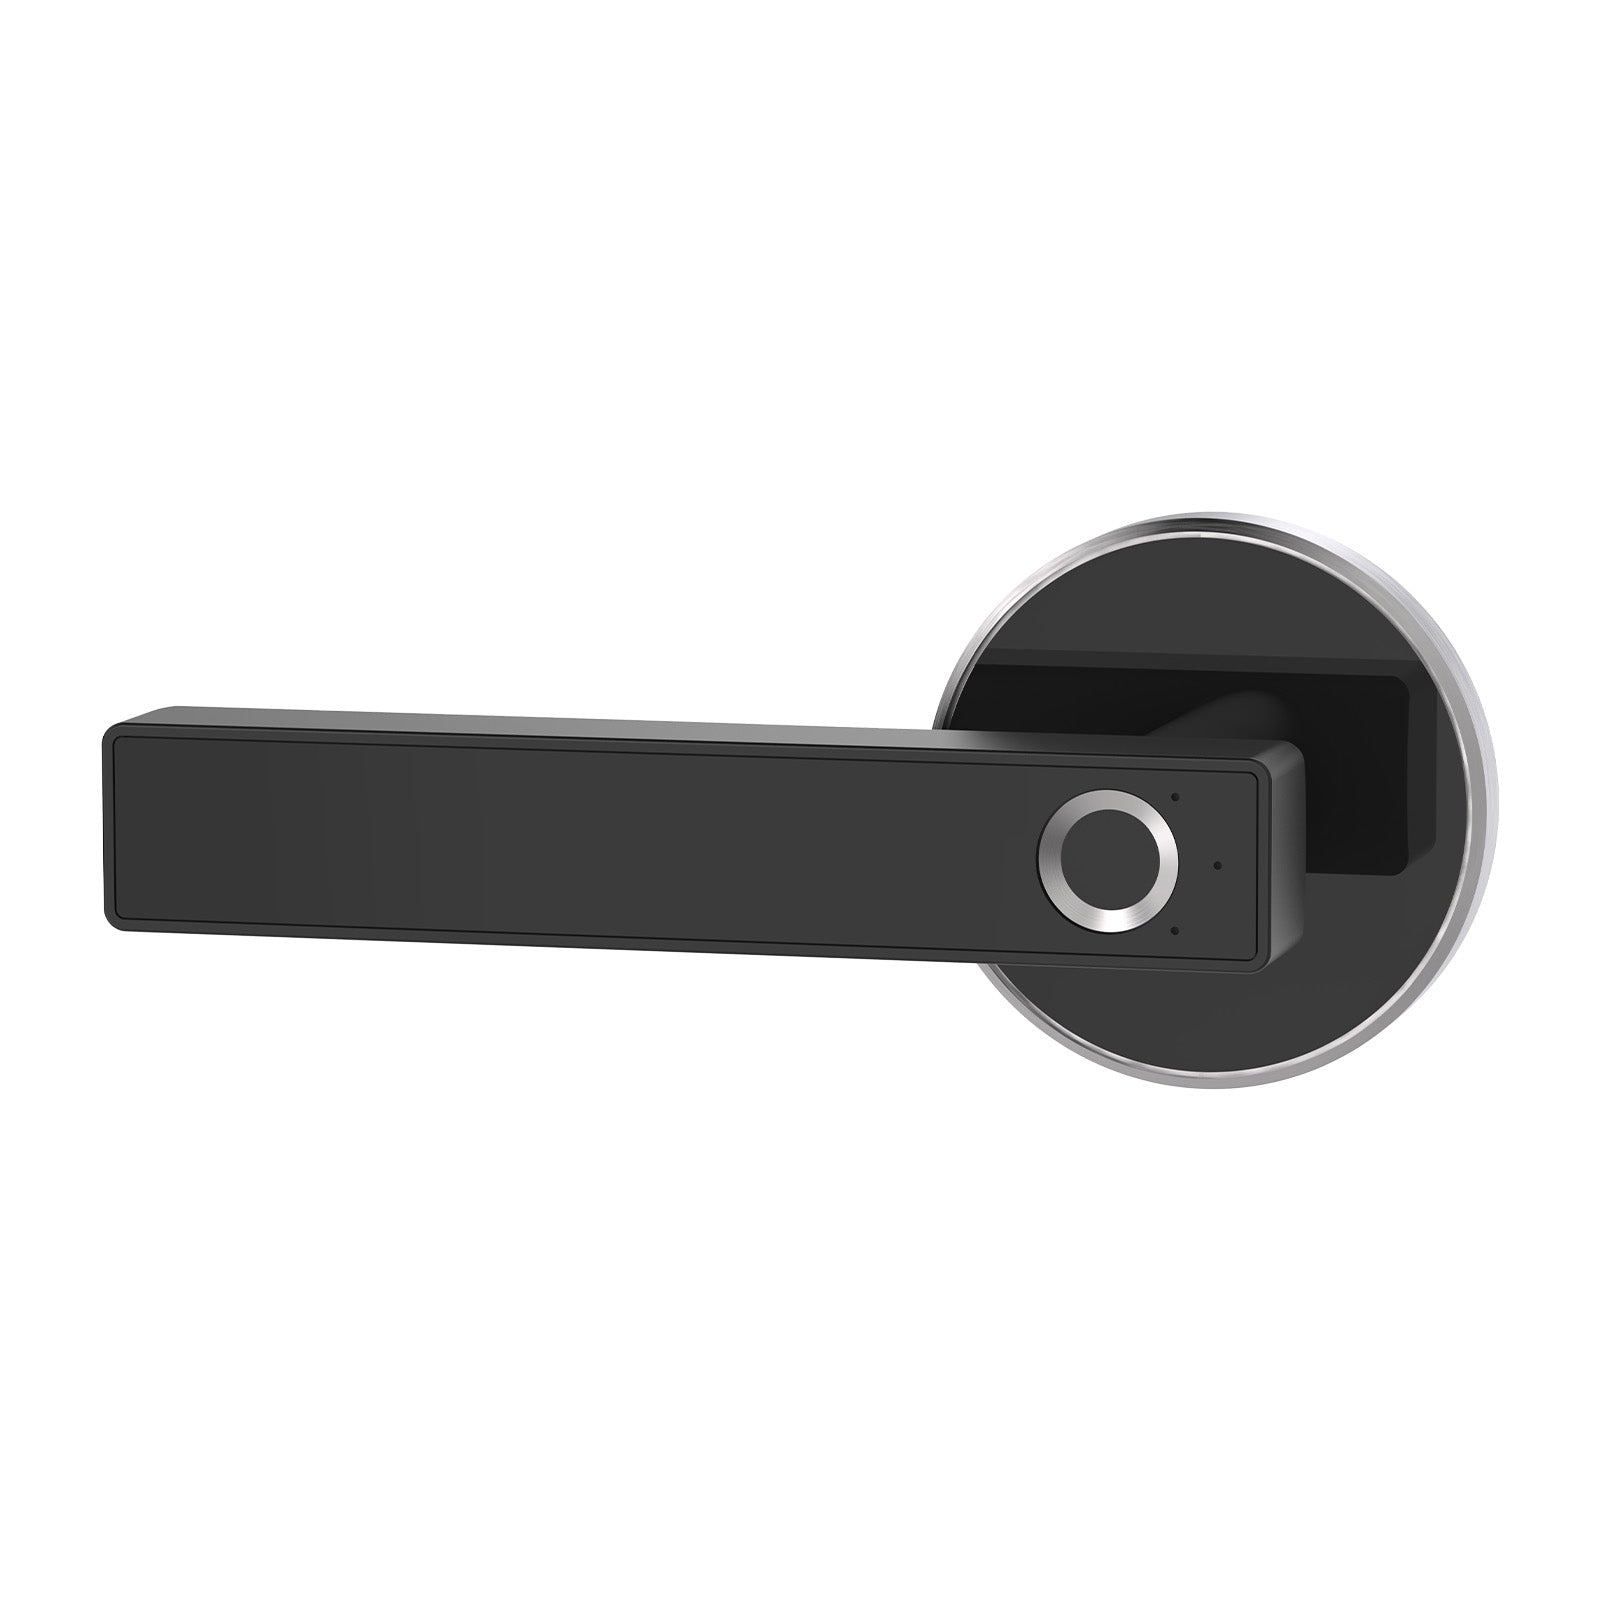
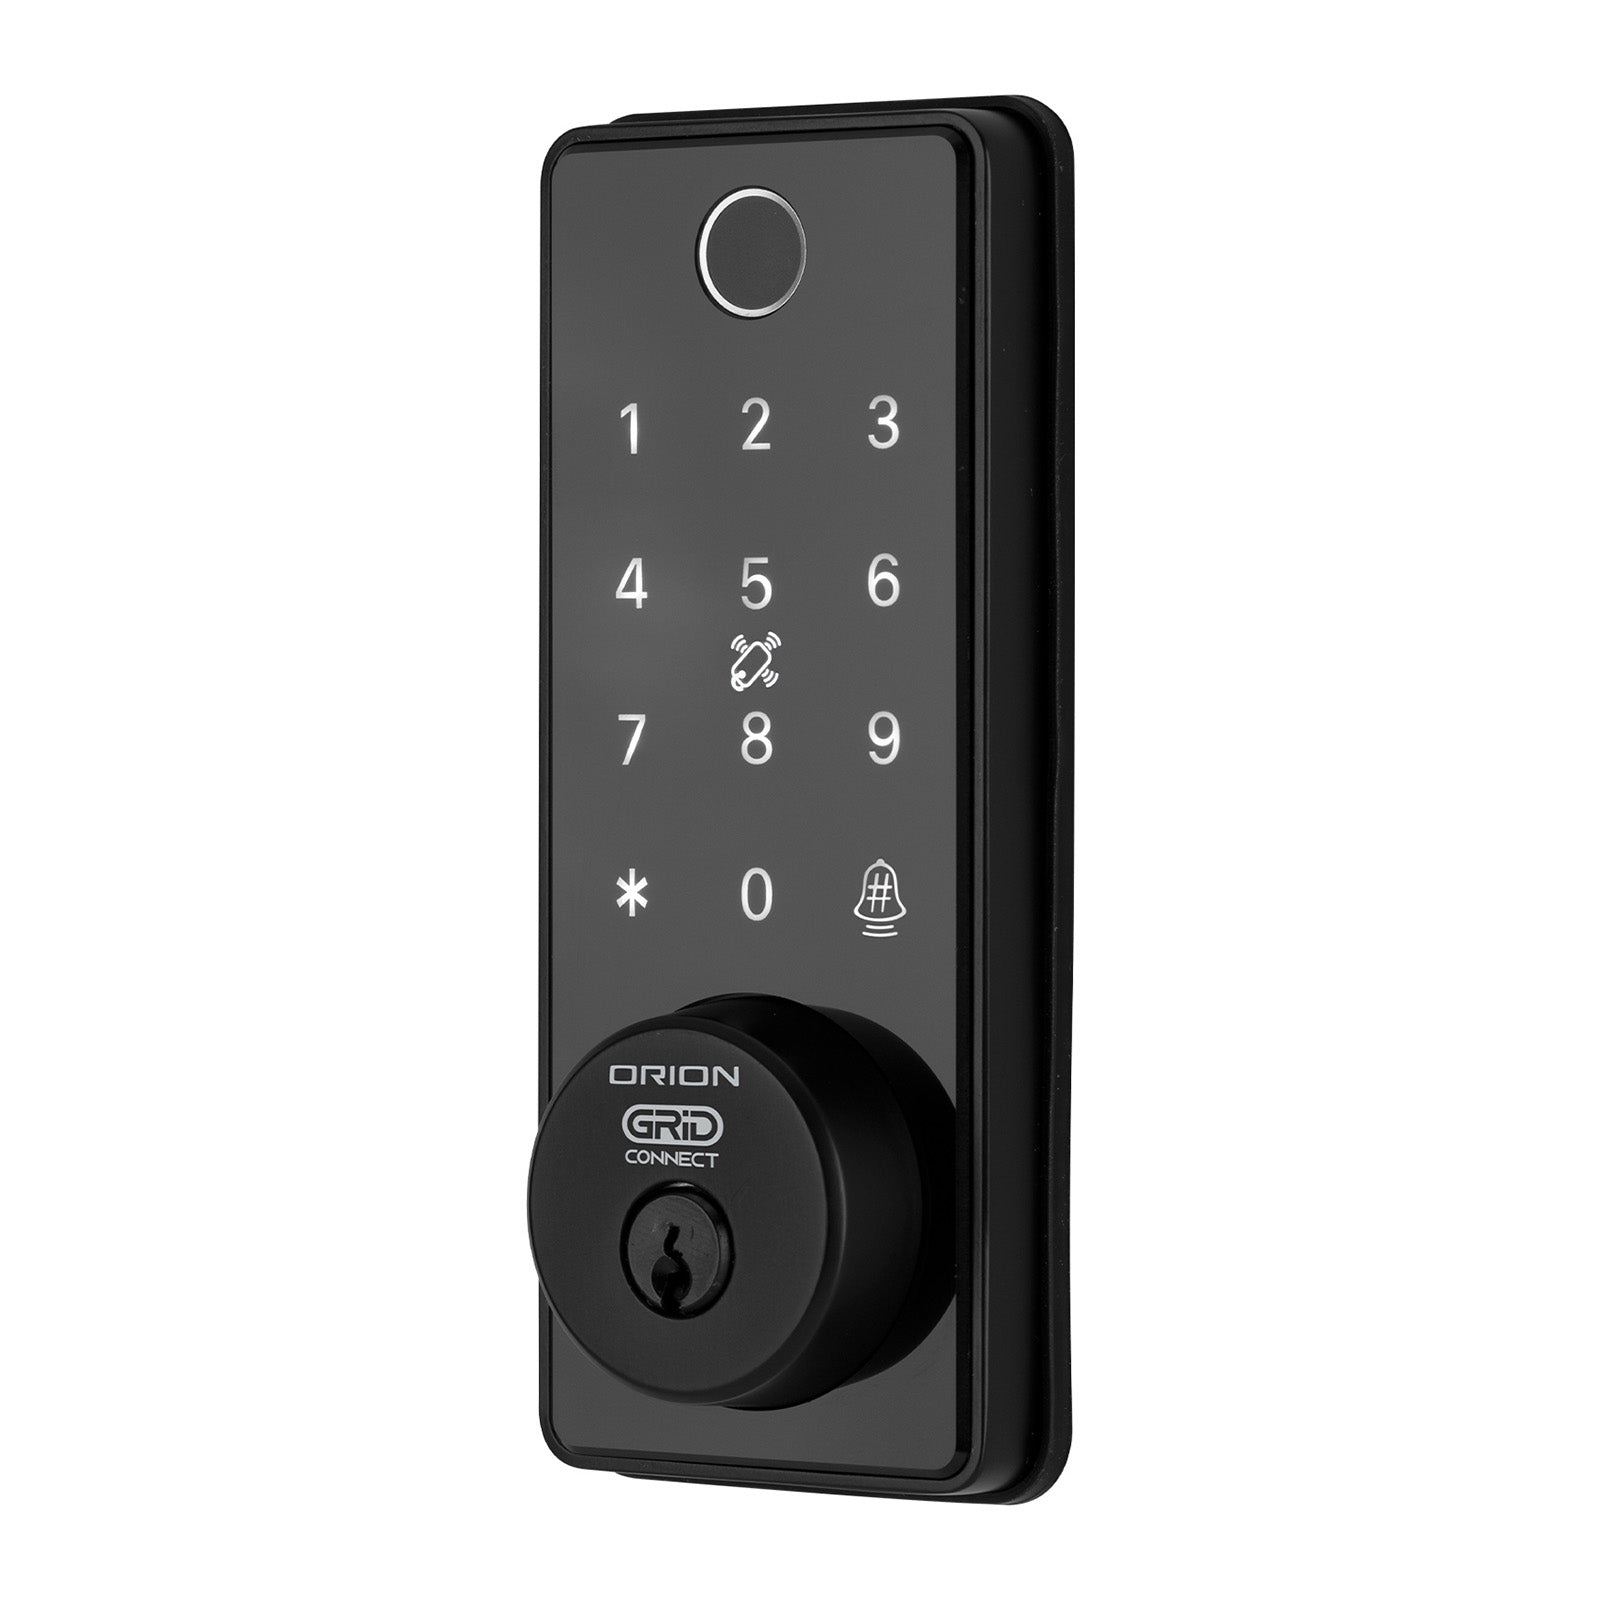
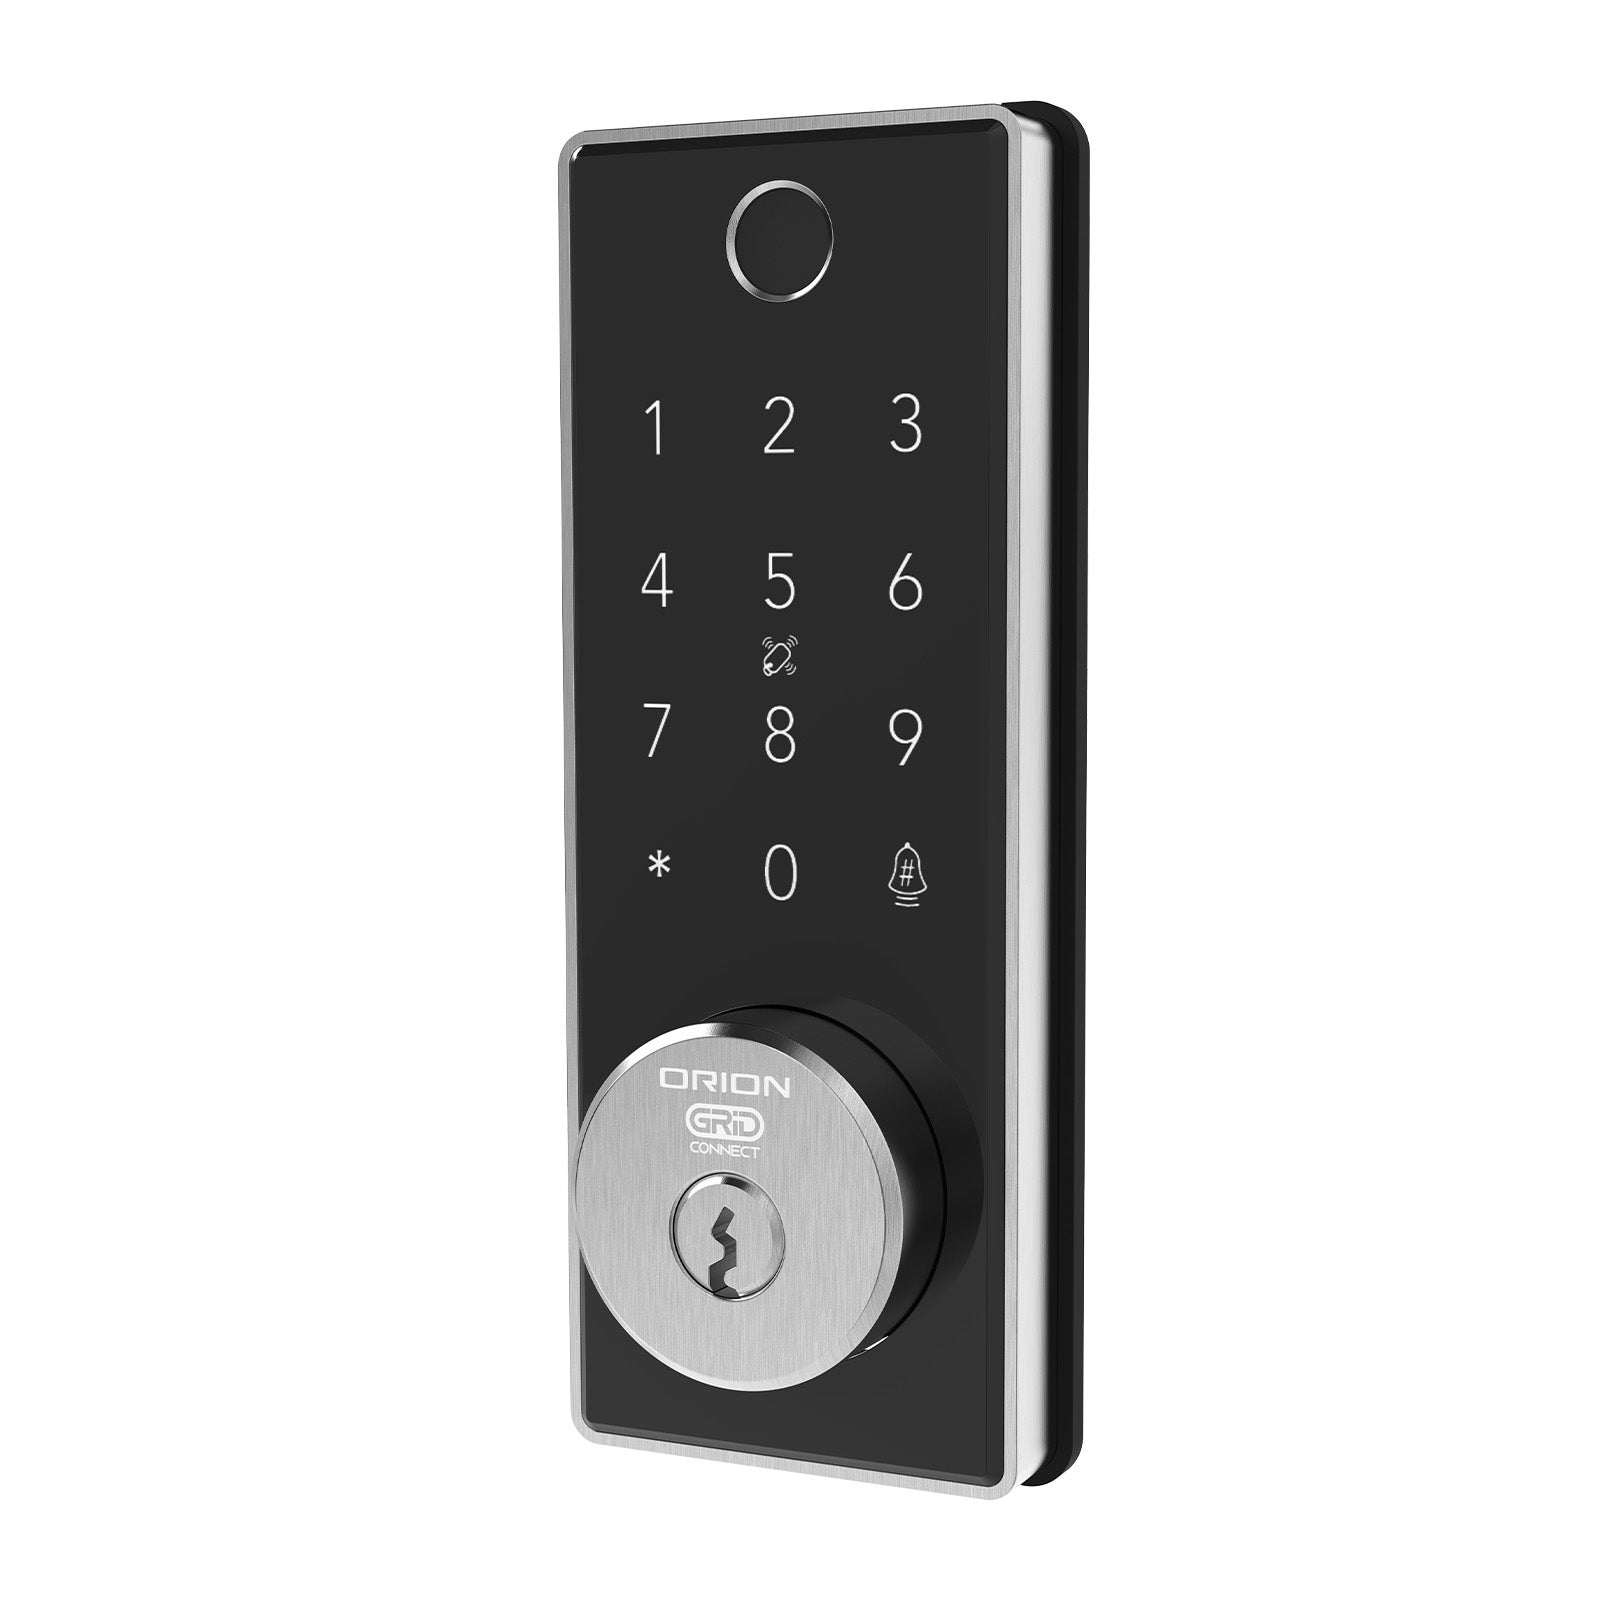
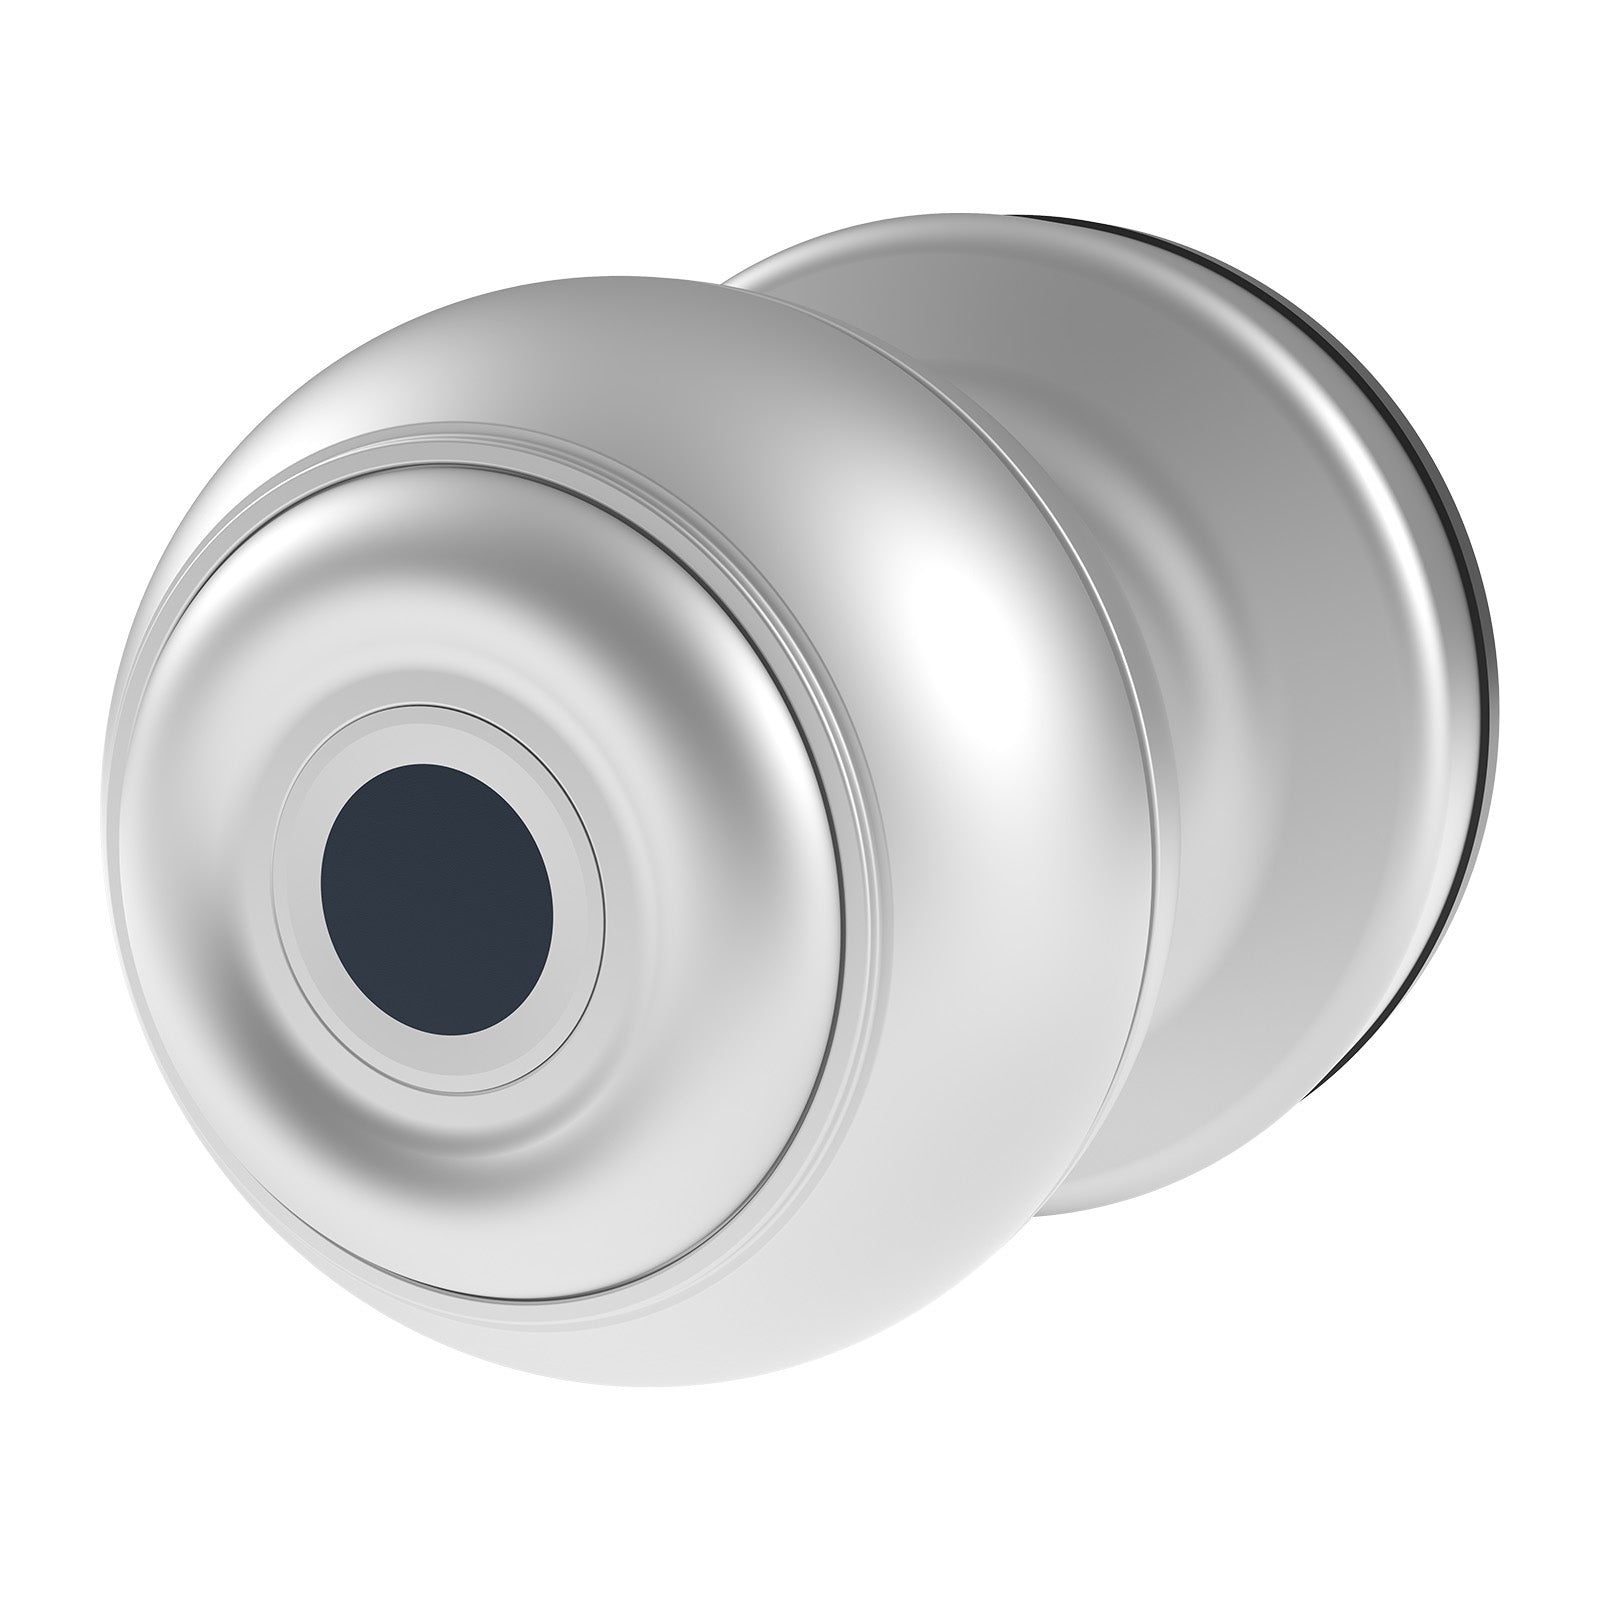
Yes, Grid Connect smart door locks will continue to function with stored fingerprints, codes, keycards and keys when disconnected from the network. Please note however that remote locking/unlocking, remote user management and monitoring will only work when the smart door lock is connected back to the network.
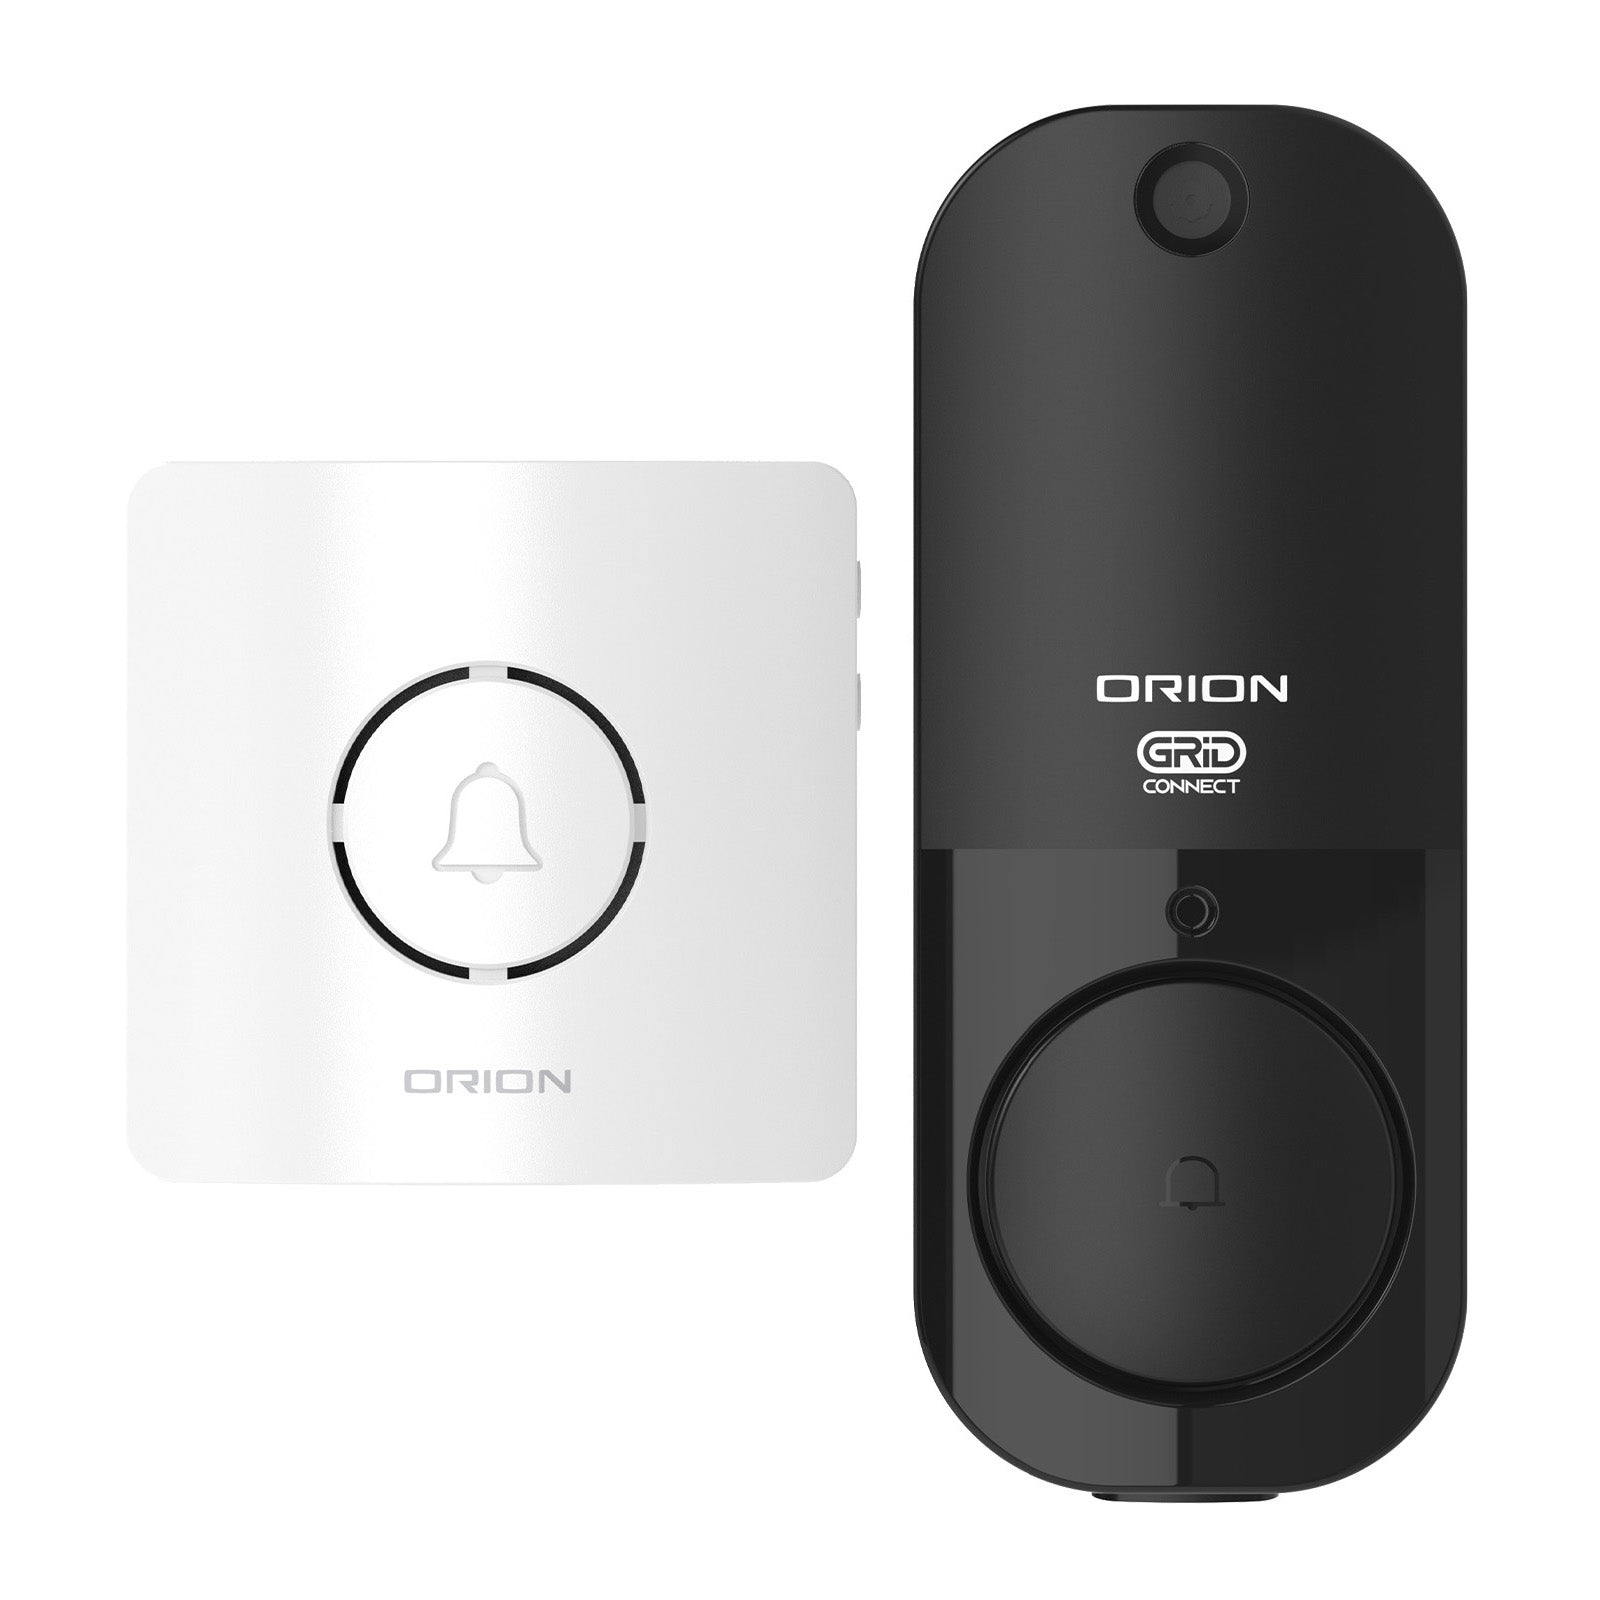
Where applicable, it is strongly recommended to use the wiring provided with the Grid Connect smart video doorbell packaging for the best experience. Always check the installation and wiring requirements on the product packaging before installation.
Please note that current Grid Connect video doorbells are not compatible with existing mechanical AC chime wiring systems.
Grid Connect smart cameras utilise end-to-end encrypted communication to help safeguard footage, device communication and user data from unauthorised access. Relevant data is securely stored either locally on the device or on protected Amazon Web Services (AWS) servers, providing an additional layer of security and reliability